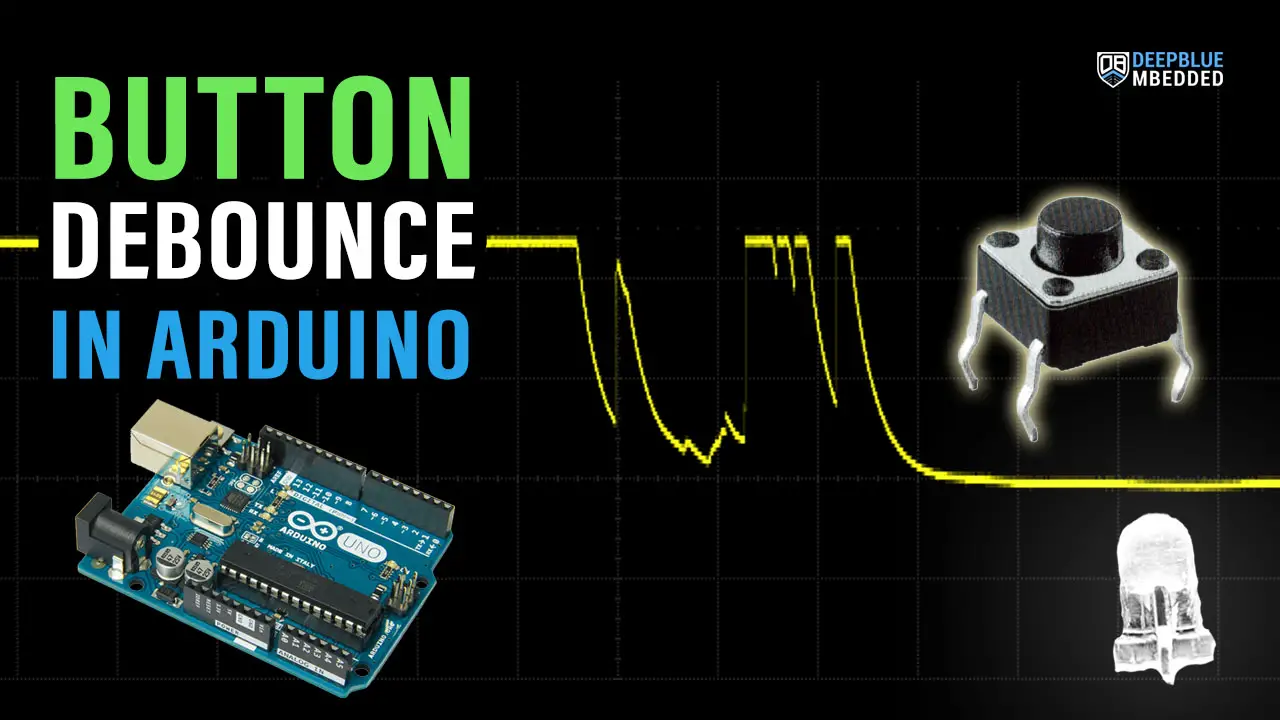
In this tutorial, I’ll show you all possible Arduino Button Debouncing Techniques with code examples for each method. We’ll discuss hardware & software button debouncing methods, how to do it with a delay, how to avoid delays, how to apply a digital filter, and much more. You can use the table of contents below to jump straight to the method you’re interested in, or just follow the tutorial step by step. Without further ado, let’s get right into it!
Table of Contents
- Switch (Button) Bouncing
- Button Debouncing Overview
- Button (Switch) Debounce HW Circuits
- Arduino Button Debouncing (Delay)
- Arduino Button Debouncing (Delay + Counter)
- Arduino Button Debouncing (Without Delay)
- Arduino Button Debouncing (Moving Average Filter)
- Arduino Button Debouncing (Bit Shifting)
- Arduino Button Debouncing Library
- Wrap Up
Switch (Button) Bouncing
A push button is a mechanical switch that we use in all sorts of electronic projects. Ideally, a push button (switch) will connect two pins (leads) together when it’s held down which produces a perfect clean voltage transition on the input pin (High to Low or the opposite).
However, in the real world, this ideal behavior is not always how a push button behaves. The mechanical motion results in a contact bounce that therefore creates a jitter in the input voltage signal that we typically refer to as “switch bounce”.
I’ve captured an input pin signal while clicking a push button and here is how it looks on my oscilloscope. Those glitches in the digital signal are what we consider “button bouncing”.

I’ve clicked the push button hundreds of times in order to capture those bouncing glitches that you’ve seen in the oscilloscope’s screenshots above. This doesn’t mean that switch bouncing is a rare event, it does depend on the switch quality and some other factors. So it can be described as a random event.
You can try the interactive simulator below to see how the signal will look like if you leave your button input non-debounced and also see what a denounced button input signal looks like.
Switch (Button) Bounce Effect Simulation
This is an interactive example of a button signal plot. Try clicking the button and observe the plot below.
Switch bouncing is a random event. This means it can happen and introduce aggressive sharp transitions to the input signal, or it can not happen at all. You need to press the push button multiple times to confirm the fact that this is a random event that doesn't always happen. Yet we need to protect our systems against it.
Button Debouncing Overview
There are so many techniques for button debouncing that you can use in your project and it just depends on the needs of your project. In this section, we'll explore all possible button debouncing techniques as a general overview of what we'll discuss in detail later on in this tutorial.
Button debouncing techniques can be categorized into the following two main categories:
- Hardware Button Debouncing Techniques
- Software Button Debouncing Techniques
Hardware button debouncing is to achieve button input debouncing with a hardware electronic circuit so that the microcontroller doesn't have to deal with a noisy input and no extra software is required to handle such an issue in the first place.
- RC Filter Circuit
- Schmit Trigger Circuit
- Flip-Flop Circuit
- Special Debouncing ICs
- etc...
Software button debouncing, on the other hand, saves you extra hardware electronic parts and uses different algorithms and a bit of the CPU time to process the incoming non-debounced signal and clean it out before sending it to the designated software component that needs this input signal.
- Using delay
- Using timers
- Bit Shifting
- Moving average (digital filter)
- etc...
We'll discuss each technique in detail in the following sections one by one and see how to implement them with Arduino.
Button (Switch) Debounce HW Circuits
Those are the most common hardware circuits used for button debouncing with various microcontrollers, Arduino is no exception. Here are the button debouncing circuits that you can use with Arduino push buttons to get a clean input signal without the need to implement a software button debouncing algorithm.
In this tutorial, we'll be more focusing on the software debouncing techniques and algorithms. So this section will be quite short, I'll leave you with the button debouncing circuits.
Arduino Button Debouncing RC Filter Circuit

Arduino Button Debouncing Schmit Trigger Circuit

Button (Switch) Debouncing Flip-Flop Circuit

Button (Switch) Debouncing ICs
There are several dedicated ICs available in the market for button (switch) debouncing. Those button-debouncing ICs include MAX6816, MC14490, and LS118.
Here is an example from the MAX6816 switch debouncing IC's datasheet showing the typical connection of the device with various microcontrollers or microprocessors.

Arduino Button Debouncing (Delay)
The first and easiest software debouncing technique is to just insert a delay after reading the button input pin state. Then, we can read it again and make sure that the pin state didn't change due to the button bouncing. In this way, we can guarantee that the input pin state change is not some random noise due to the button bouncing.
Here is the code example for Arduino Button Debouncing With Delay.
/*
 * LAB Name: Arduino Button Debouncing (Delay)
 * Author: Khaled Magdy
 * For More Info Visit: www.DeepBlueMbedded.com
*/

const int buttonPin = 7;    // the number of the pushbutton pin
const int ledPin = 13;      // the number of the LED pin
int btnState = LOW;

void setup() {
  pinMode(buttonPin, INPUT);
  pinMode(ledPin, OUTPUT);
}

void loop() {
  btnState = digitalRead(buttonPin);
  if(btnState == HIGH)
  {
    delay(20);
    btnState = digitalRead(buttonPin);
    if(btnState == HIGH)
    {
      // Toggle The Output LED Pin
      digitalWrite(ledPin, !digitalRead(ledPin));
    }
  }
}
Using delay for button debouncing is not recommended at all. But if you're prototyping something really quick and only need one button, this can suffice. However, I'd highly recommend that you keep going with this tutorial and check the other Arduino button debouncing techniques presented hereafter.
Arduino Button Debouncing (Delay + Counter)
This is a very similar method to the previous one, except the fact that it tries to make it less inefficient by reducing the delay amount and replacing that with a digital counter to count the consecutive times of the input pin state.
If the pin state has been high for 20 consecutive times, the button press event is confirmed. Otherwise, we'll reset the counter and start all over again. With a delay of 1 ms, we expect the button to stay HIGH for 20 ms in order to register a confirmed button click event.
Here is the code example for Arduino Button Debouncing With Delay + Counter.
/*
 * LAB Name: Arduino Button Debouncing (Delay+Counter)
 * Author: Khaled Magdy
 * For More Info Visit: www.DeepBlueMbedded.com
*/

const int buttonPin = 7;    // the number of the pushbutton pin
const int ledPin = 13;      // the number of the LED pin
int btnDebounce_Counter = 0;
int btnState = LOW;


void setup() {
  pinMode(buttonPin, INPUT);
  pinMode(ledPin, OUTPUT);
}

void loop() {
  btnState = digitalRead(buttonPin);
  if(btnState == HIGH)
  {
    delay(1);
    btnState = digitalRead(buttonPin);
    if(btnState == HIGH)
    {
      btnDebounce_Counter++;
      if(btnDebounce_Counter >= 20)
      {
        // Toggle The Output LED Pin
        digitalWrite(ledPin, !digitalRead(ledPin));
        btnDebounce_Counter = 0;
      }
    }
    else
    {
      btnDebounce_Counter = 0;
    }
  }
}
Arduino Button Debouncing (Without Delay)
And now let's get to some reliable debouncing techniques. First of which is the built-in Arduino debounce example sketch that you can find in the Arduino IDE itself. Open File > Examples > Digital > Debounce.
It's using the millis() timer-based function to get timestamps instead of the delay() function which was unnecessarily blocking the CPU, holding the system back, and potentially making it unscalable at all.
/*
 * LAB Name: Arduino Button Debouncing (Without Delay)
 * Author: Khaled Magdy
 * For More Info Visit: www.DeepBlueMbedded.com
*/

const int buttonPin = 7;
const int ledPin = 13;

int ledState = HIGH;         // the current state of the output pin
int buttonState;             // the current reading from the input pin
int lastButtonState = LOW;   // the previous reading from the input pin
unsigned long lastDebounceTime = 0;  // the last time the output pin was toggled
unsigned long debounceDelay = 50;    // the debounce time; increase if the output flickers

void setup() {
  pinMode(buttonPin, INPUT);
  pinMode(ledPin, OUTPUT);
  // set initial LED state
  digitalWrite(ledPin, ledState);
}

void loop() {
  // read the state of the switch into a local variable:
  int reading = digitalRead(buttonPin);
  // If the switch changed, due to noise or pressing:
  if (reading != lastButtonState) {
    // reset the debouncing timer
    lastDebounceTime = millis();
  }

  if ((millis() - lastDebounceTime) > debounceDelay) {

    // if the button state has changed:
    if (reading != buttonState) {
      buttonState = reading;
      // only toggle the LED if the new button state is HIGH
      if (buttonState == HIGH) {
        ledState = !ledState;
      }
    }
  }
  digitalWrite(ledPin, ledState);
  lastButtonState = reading;
}
in the loop() function, we continuously read the state of the button’s pin. If it has changed since the last read, we get a timestamp using the millis() function.
If debounce time (defined as 50ms) has passed, we then check if the button state is still the same or if it has changed. If it’s valid, we’ll be sure that it’s not noise and the button is actually pressed by the user. Therefore, we’ll carry on the LED toggle action.
To learn more about the millis() function, you can check the complete tutorial below.

This tutorial will provide you with more in-depth information about the Arduino millis() function. How it works and how to use it. And discuss its various application use cases, fundamental limitations, and alternatives.
Arduino Button Debouncing (Moving Average Filter)
This is my favorite button debouncing method among all mentioned here in this tutorial. And here is how it goes: We first call the BtnScan() function at fixed time intervals (let's say 5 ms).
In the BtnScan() function, we create a circular buffer that holds the history of the push button states over the past n samples. Then, we apply a special case of the general FIR low-pass filter which is the "Moving Average Filter". I'm not rigorously following the moving average filter's formula, to be honest. The method shown in this example code is building on the same concept with a few tweaks to get even more robust results.
The buffer variable that holds the button states history is bit-wise manipulated to save on some space. So we don't need to create an array of uint8_t variables. And we count the 1's in the variable using the __builtin_popcount() function.
The __builtin_popcount() function is a standard built-in function in the GCC compiler itself. This function is used to count the number of 1's bits in an unsigned integer variable.
Here is the code example for the Moving Average Filter Button Debouncing With Arduino.
/*
 * LAB Name: Arduino Button Debouncing (Moving Avg Filter)
 * Author: Khaled Magdy
 * For More Info Visit: www.DeepBlueMbedded.com
*/

const int buttonPin = 7;
const int ledPin = 13;

unsigned long T1 = 0, T2 = 0;
uint8_t TimeInterval = 5;
uint16_t BtnStates = 0;

void setup() {
  pinMode(buttonPin, INPUT);
  pinMode(ledPin, OUTPUT);
}

void loop() {
  T2 = millis();
  if( (T2-T1) >= TimeInterval )
  {
    BtnScan();
    T1 = millis();
  }
}

void BtnScan(void)
{
  int SumStates = 0;
  BtnStates <<= 1;
  BtnStates |= digitalRead(buttonPin);
  SumStates = __builtin_popcount(BtnStates);
  if(SumStates >= 10)
  {
    digitalWrite(ledPin, !digitalRead(ledPin));
    BtnStates = 0;
  }
}
Arduino Button Debouncing (Bit Shifting)
This is an interesting method that works in a similar way to the previous method we discussed in the last section. It was introduced by Jack Ganssle in his article about button debouncing.
This technique uses bit-shifting to store the history of the input pin digital states and compare it to a bit-mask of a certain number of 1s. If the button has been pressed for a certain period of time, the button state will match the mask and get confirmed.
Here in the following example, I'm calling the function debounce() every 5ms and using a mask of 0xFFF0. This means that I want to see 12 times of consecutive 1's in the btnState history variable in order to confirm the button press event and return a true.
/*
 * LAB Name: Arduino Button Debouncing (Bit-Shifting)
 * Author: Khaled Magdy
 * For More Info Visit: www.DeepBlueMbedded.com
*/

const int buttonPin = 7;
const int ledPin = 13;

unsigned long T1 = 0, T2 = 0;
uint8_t TimeInterval = 5;

void setup() {
  pinMode(buttonPin, INPUT);
  pinMode(ledPin, OUTPUT);
}

void loop() {
  T2 = millis();
  if( (T2-T1) >= 5 )
  {
    if (debounce()) {
      digitalWrite(LED_BUILTIN, !digitalRead(LED_BUILTIN));
    }
    T1 = millis();
  }
}

bool debounce(void)
{
  static uint16_t btnState = 0;
  btnState = (btnState<<1) | (!digitalRead(buttonPin));
  return (btnState == 0xFFF0);
}
Note that in the example above, I'm using an external pull-down resistor. In case you're using the Arduino internal INPUT_PULLUP resistor, the debounce function logic will need a small change and will be as follows. (We just need to invert the digital pin state read result)
bool debounce(void)
{
  static uint16_t btnState = 0;
  btnState = (btnState<<1) | (digitalRead(buttonPin));
  return (btnState == 0xFFF0);
}
Arduino Button Debouncing Library
Before concluding this tutorial, let's discuss one last method to debounce push buttons using the Arduino PushButton library. You can install it in your Arduino IDE by going to Tools > Manage Libraries > Search for Pushbutton. Then, click Install and let it finish the installation.

After installing the library, we can use it to create an instance of the Pushbutton class to define as many buttons as we want in our system and use the getSingleDebouncedPress() function to read the debounced button state. Below is an example of reading a button state using the Pushbutton debounce library.
/*
 * LAB Name: Arduino Button Debouncing Library
 * Author: Khaled Magdy
 * For More Info Visit: www.DeepBlueMbedded.com
*/
#include <Pushbutton.h>

const int buttonPin = 7;
const int ledPin = 13;

Pushbutton MyButton(buttonPin);

void setup() {
  pinMode(ledPin, OUTPUT);
}

void loop() {
  if (MyButton.getSingleDebouncedPress())
  {
    digitalWrite(LED_BUILTIN, !digitalRead(LED_BUILTIN));
  }
}
A lot of the readers may find using the library above to be a more friendly way of dealing with button debouncing. However, the techniques presented in this tutorial are the basis on which many libraries are operating which gives you more information on how button debouncing is achieved.
Parts List
Here is the full components list for all parts that you'd need in order to perform the practical LABs mentioned here in this article and for the whole Arduino Programming series of tutorials found here on DeepBlueMbedded. Please, note that those are affiliate links and we'll receive a small commission on your purchase at no additional cost to you, and it'd definitely support our work.
Download Attachments
You can download all attachment files for this Article/Tutorial (project files, schematics, code, etc..) using the link below. Please consider supporting my work through the various support options listed in the link down below. Every small donation helps to keep this website up and running and ultimately supports our community.
Wrap Up
To conclude this project tutorial, we can say that button debouncing issue is just random but can't be neglected and if not taken care of it can really ruin your project behavior. There are several ways to implement a button debouncing algorithm or even a hardware circuit to eliminate the bouncing noise as we've seen in this tutorial. We'll be using the last two techniques in a lot of future tutorials & projects, so make sure you've got the hang of them.
If you're just getting started with Arduino, you need to check out the Arduino Getting Started [Ultimate Guide] here.
And follow this Arduino Series of Tutorials to learn more about Arduino Programming.

This is the ultimate guide for getting started with Arduino for beginners. It'll help you learn the Arduino fundamentals for Hardware & Software and understand the basics required to accelerate your learning journey with Arduino Programming.
Awesome post about debouncing. Thank you!
In the section on Moving Average Filter there is an unused variable “uint8_t TimeInterval = 5;” .
When you actually do the test of “if( (T2-T1) >= 5 )” you hardcode the 5, I am assuming that this is the same % that is in the uint8 TimtInterval?
I used different variable names in my application, and it seems to work well, so many thanks for a fine article, despite this minor confusing bit. I think I understand deouncing much better now.
Hello Tony,
Thanks for noticing this. Exactly, you got it right despite the mistake in the code. The variable should have been used instead of the “5”, so it becomes configurable as needed.
I fixed this while making a tutorial on Debouncing with STM32 microcontrollers but forgot to fix it here on this Arduino tutorial.
All the best,