In this tutorial, you’ll learn How To Use Arduino Analog Pins As Digital Pins for digital output and input applications. Just like the Arduino general-purpose input output pins (0 to 13). We’ll implement a couple of code examples to test the usage of Arduino analog pins as digital pins for output and input use cases. Without further ado, let’s get right into it!
Table of Contents
- Arduino Analog Pins
- Using Arduino Analog Pins As Digital Pins
- Arduino Analog Pins Digital Output
- Arduino Analog Pins Digital Input
- Wrap Up
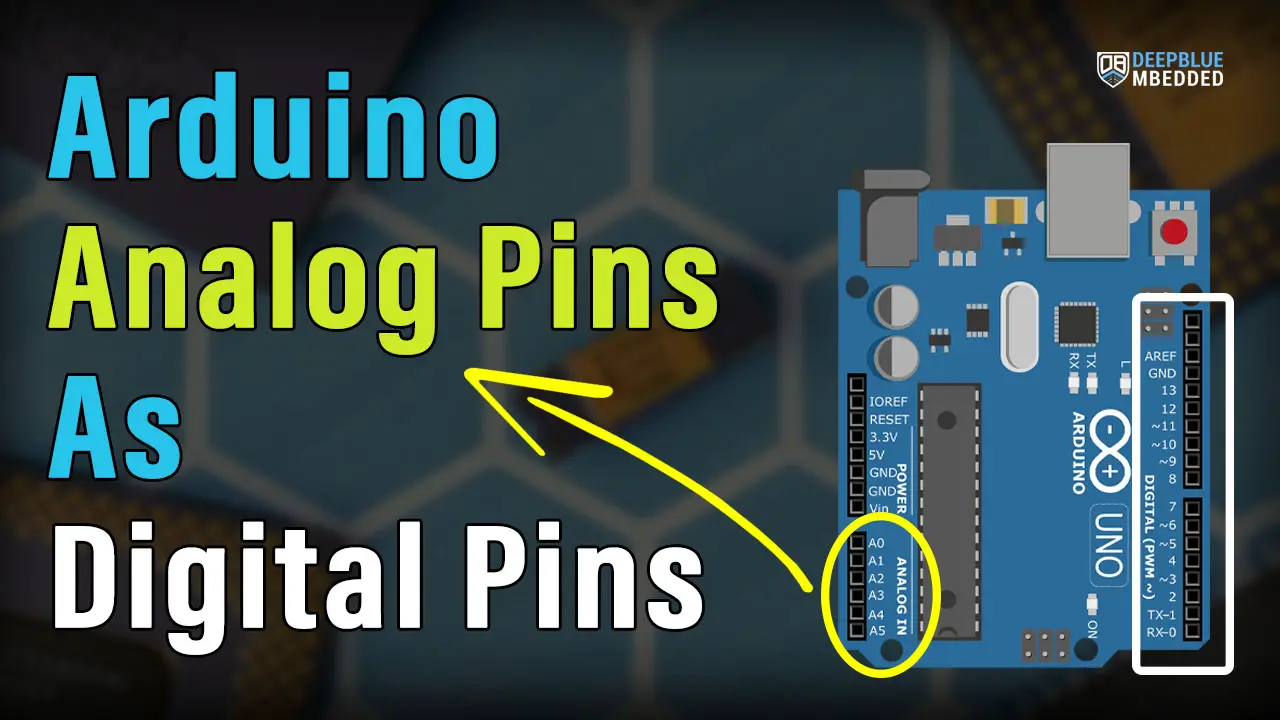
Arduino Analog Pins
The Arduino UNO has 6 analog input pins labeled from A0 to A5 as shown in the figure below. Those pins can be used with analog peripherals in the Arduino microcontroller such as: ADC (A/D Converter) and the Analog Comparator.

The Analog input pins can also be used as general-purpose digital IO pins as we’ll see hereafter in this tutorial.
Using Arduino Analog Pins As Digital Pins
Arduino Uno has a total of 14 GPIO pins, out of which 6 pins (from A0 to A5) are analog pins. The question is can we use Arduino analog pins as digital output pins? The answer is YES, and here is how to do it.
First of all, the ADC is a valuable resource in any microcontroller. Under certain circumstances, you’d sacrifice the analog input channels just to get extra digital IO pins. Sometimes an external IO expander would be a better solution instead of sacrificing the ADC analog input channels.
But let’s say you’ve made your decision and you need to have an extra digital pin or two. And the analog input pins are the only hope you’ve got. Here is how you’d go about implementing this.
Just deal with the analog input pins (A0 – A5) as if they’re normal digital IO pins. This means you first need to call the pinMode() function to set the pin mode to INPUT. And then you can call the digitalRead() function to get the pin state HIGH or LOW.
Similarly, you can set an analog pin to be a digital output pin using the pinMode() function. And then you can call the digitalWrite() function to control its output digital state and drive it HIGH or LOW.

This article will give more in-depth information about the Arduino pinMode() function, INPUT_PULLUP, INPUT_PULLDOWN modes, pin floating state, and how to implement internal or external pull-up
Arduino Analog Pins Digital Output
To use Arduino analog pin as a digital output pin, you need first to call the pinMode() function to set the pin mode to be OUTPUT. Then you can easily set the digital pin state using the digitalWrite() function as you’d do for any digital pin. And here is an example code that shows you how to do it.
Arduino Analog Pin Digital Output Example
Here I’m using the A0 pin as an output pin and toggling its state from HIGH to LOW every 1 second.
void setup() {
   pinMode(A0, OUTPUT);
}
void loop() {
   digitalWrite(A0, HIGH);
   delay(1000);
   digitalWrite(A0, LOW);
   delay(1000);
}
Arduino Analog Pins Digital Input
To use Arduino analog pin as a digital input pin, you need first to call the pinMode() function to set the pin mode to be INPUT. Then you can easily get the digital pin state using the digitalRead() function as you’d do for any digital pin. And here is an example code that shows you how to do it.
Arduino Analog Pin Digital Input Example
Note that the A0 pin is assumed to be externally pulled up to Vcc with a 10kΩ resistor.
void setup() {
  pinMode(A0, INPUT);
}

void loop() {
  if(digitalRead(A0) == LOW)
  {
     // Button Is Pressed
  }
  else // If Pin A0 State == HIGH
  {
     // Button Is Released
  }
}
Leaving an input pin in a floating state can result in the digitalRead() function returning always HIGH, always LOW, or even a randomly changing value HIGH or LOW. Check the Arduino pinMode Tutorial for more information on this.
Parts List
Here is the full components list for all parts that you’d need in order to perform the practical LABs mentioned here in this article and for the whole Arduino Programming series of tutorials found here on DeepBlueMbedded. Please, note that those are affiliate links and we’ll receive a small commission on your purchase at no additional cost to you, and it’d definitely support our work.
Wrap Up
To conclude this tutorial, we can say that Arduino analog pins can easily be used as digital IO pins for output and input operations. You simply need to set the mode using the pinMode() function and you’re good to go for using digitalRead() and digitalWrite() functions depending on your need.
If you’re just getting started with Arduino, you need to check out the Arduino Getting Started [Ultimate Guide] here.
And follow this Arduino Series of Tutorials to learn more about Arduino Programming.

This is the ultimate guide for getting started with Arduino for beginners. It’ll help you learn the Arduino fundamentals for Hardware & Software and understand the basics required to accelerate your learning journey with Arduino Programming.
FAQ & Answers
Yes, Arduino analog pins can be used as digital pins. Just deal with the analog input pins (A0 – A5) as normal digital IO pins.
This means you first need to call the pinMode() function to set the pin mode to INPUT. And then you can call the digitalRead() function to get the pin state HIGH or LOW.
Similarly, you can set an analog pin to be a digital output pin using the pinMode() function. And then you can call the digitalWrite() function to control its output digital state and drive it HIGH or LOW.
Yes, you can use analog pins for LCD control. Just set the correct pinMode for each pin you need to use and use the pins (A0 to A5) as you’d do with any other Arduino digital pin.
We don’t normally use Arduino’s analog pins as digital IO pins because it’s a waste of a very valuable resource which is the ADC channels. However, under certain circumstances, someone may sacrifice an analog input pin just to get an extra digital IO pin. Instead, an external IO expander can be used if more than 6 digital pins are needed.