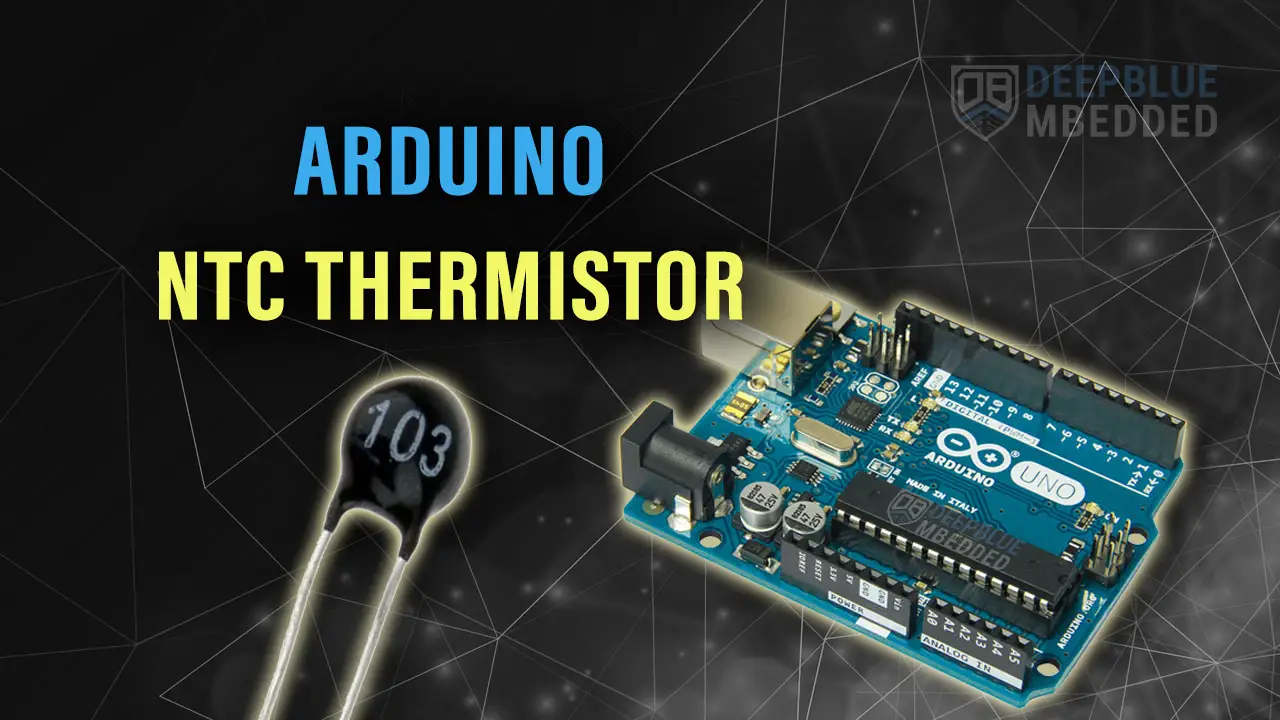
In this tutorial, we’ll interface an NTC Thermistor And Arduino and use it as a temperature sensor. You’ll learn how NTC thermistors work and how to read an NTC 10k thermistor with Arduino code example.
Table of Contents
- Thermistor And Arduino Interfacing (NTC 10k)
- Reading Thermistor (NTC 10k) With Arduino
- Thermistor Arduino Code Example (NTC Temperature Sensor)
- Wrap Up
Thermistor And Arduino Interfacing (NTC 10k)
NTC (Negative Temperature Coefficient) Thermistors are temperature-sensitive resistor devices commonly used as temperature sensors. There are two types of thermistors: Negative Temperature Coefficient (NTC) and Positive Temperature Coefficient (PTC). In this tutorial, we’ll focus on NTC thermistors, which decrease in resistance as the temperature increases.
A 10k NTC has a resistance of 10kΩ at 25°C, likewise, a 100k NTC has a resistance of 100kΩ at 25°C, and so on. NTC thermistors are non-linear devices, meaning the relationship between resistance and temperature is non-linear, making it harder to interface (read) thermistors with Arduino. Unlike the more common linear temperature sensors such as: (LM35, TMP36, etc).
Thermistor R-T Curve
In the datasheet of the NTC 10k thermistor, you can find the resistance-temperature relationship mapping table. I’ve saved the data point and used a MATLAB script to reconstruct the R-T curve of the NTC 10k thermistor which is shown below.

To read the temperature value, we need first to find out the instantaneous resistance value of the NTC thermistor. Using the resistance, we can get the corresponding temperature reading from the R-T curve shown above.
To read the resistance of the NTC thermistor with an Arduino microcontroller, we’ll construct a voltage divider network with a fixed resistor (10kΩ) in series with the NTC 10k thermistor. Reading the voltage with the Arduino’s ADC will help us figure out the resistance value as we’ll see hereafter in this tutorial.
Thermistor And Arduino Circuit Wiring
Here is the interfacing circuit of an NTC 10k Thermistor with an Arduino UNO board.

The fixed resistance we need to add should be exactly 10kΩ for better temperature measurement accuracy. Therefore, I had to use a 10kΩ resistor (measures 9.8kΩ on a DMM) in series with a 220Ω resistor (measures 200Ω on a DMM) to get an exact total of 10kΩ resistance in series with my NTC 10k thermistor.
Reading Thermistor (NTC 10k) With Arduino
To read an NTC thermistor with Arduino, you need to follow the steps below:
- Read the voltage drop across the fixed 10k resistor
- Calculate the resistance of the NTC thermistor
- Use the R-T curve equation to get the corresponding temperature measurement value
Let’s dive deeper into each step of the NTC thermistor’s temperature measurement process.
Reading The Voltage & Getting RNTC
After reading the output voltage of the voltage divider network, we can use the equation below and solve for R1 (RNTC). Given that R2 = 10kΩ, Vdd = 5v, and Vout is easily obtained using the analogRead() function.

Getting The NTC Temperature From The R-T Curve’s Equation
After getting the NTC thermistor’s resistance (RNTC), we can use the characteristic R-T curve of the NTC to find out the corresponding temperature measurement value.
I’ve used a MATLAB algorithm to get a function approximation that models the R-T curve which can be easily incorporated into our Arduino code to get the temperature reading.
Thermistor Arduino Code Example (NTC Temperature Sensor)
In this example project, we’ll read an NTC thermistor with Arduino and print the temperature reading over the serial port (in degrees Celsius and Fahrenheit).
The wiring diagram for this example project is shown earlier in this tutorial.
Example Code
Here is the full code listing for this example.
|
1 2 3 4 5 6 7 8 9 10 11 12 13 14 15 16 17 18 19 20 21 22 23 24 25 26 27 28 29 30 31 32 33 |
/* * LAB Name: Arduino Thermistor NTC 10k Code Example * Author: Khaled Magdy * For More Info Visit: www.DeepBlueMbedded.com */ #include <math.h> float TempC, TempF; void setup() { Serial.begin(9600); } void loop() { TempC = Read_NTC10k(); TempF = (TempC * 1.8) + 32.0; Serial.print(TempC); Serial.print("°C \t"); Serial.print(TempF); Serial.println("°F"); delay(10); } float Read_NTC10k() { float a = 639.5, b = -0.1332, c = -162.5; float Rntc, Vntc, Temp; Vntc = (analogRead(A0)*5.0)/1024.0; Rntc = 10000.0 * ((5.0/Vntc) - 1); Temp = a * pow(Rntc, b) + c; return Temp; } |
Testing Results
Here is the result of testing this project code example on my Arduino UNO board.

NTC Thermistor’s Measurement Cycle
The measurement cycle (period) can be found by toggling a GPIO pin before and after the call to the Read_NTC10k() NTC sampling function. Here is what I’ve measured on my DSO, it’s taking around 200µs to complete. This means we can run this temperature sampling function at a maximum rate of 5kHz.

Required Parts List
Here is the full components list for all the parts you’d need to perform the practical LABs mentioned in this tutorial and the whole Arduino Programming series of tutorials found here on our website.
* Please, note that those are affiliate links and we’ll receive a small commission on your purchase at no additional cost to you, and it’d definitely support our work.
| QTY. | Component Name | Amazon.com | AliExpress | eBay |
| 1 | NTC Thermistor 10k | Amazon | AliExpress | eBay |
| 1 | Arduino UNO Kit | Amazon | AliExpress | eBay |
| 1 | Complete Arduino Sensors/Modules Kit | Amazon | AliExpress | eBay |
| 1 | DC Power Supply | Amazon | AliExpress | eBay |
| 1 | BreadBoard | Amazon | AliExpress | eBay |
| 1 | LEDs Kit | Amazon & Amazon | AliExpress | eBay |
| 1 | Resistors Kit | Amazon & Amazon | AliExpress | eBay |
| 1 | Capacitors Kit | Amazon & Amazon | AliExpress & AliExpress | eBay & eBay |
| 1 | Jumper Wires Pack | Amazon & Amazon | AliExpress & AliExpress | eBay & eBay |
| 1 | Push Buttons | Amazon & Amazon | AliExpress | eBay |
| 1 | Potentiometers | Amazon | AliExpress | eBay |
★ Check The Links Below For The Full Course Kit List & LAB Test Equipment Required For Debugging ★
Download Tutorial’s Attachments
You can download all attachment files for this Article/Tutorial (project files, schematics, code, etc..) using the link below. Please consider supporting our work through the various support options listed in the link down below. Every small donation helps to keep this website up and running and ultimately supports the whole community.
Wrap Up
To conclude this tutorial, we’ve covered how to interface an NTC thermistor with an Arduino, read temperature values, and convert them into meaningful temperature readings using a simple code example. You can build on top of the provided example project and use NTC thermistors in your temperature-sensing applications.
If you’re just getting started with Arduino, you need to check out the Arduino Getting Started [Ultimate Guide] here.
And follow this Arduino Series of Tutorials to learn more about Arduino Programming.
The thermistor is called a 10K because it measures 10KOhms at 77°F (25°C). You don’t need to calculate the curves. Check the manufacturer website BAPI.com. Or if you do an internet search for “BAPI 10k -2 thermister chart” it should be a top result.
Anyways, I love this post. Thank you
You may simplify this a bit… The 5V Vref cancels out if you combine your two lines, and there is no need to reach precisely 10k with your R2 resistor, just plug in the code the exact value you measured. Then the code becomes :
Rntc = R2 * ((1024.0/analogRead(A0)) – 1);