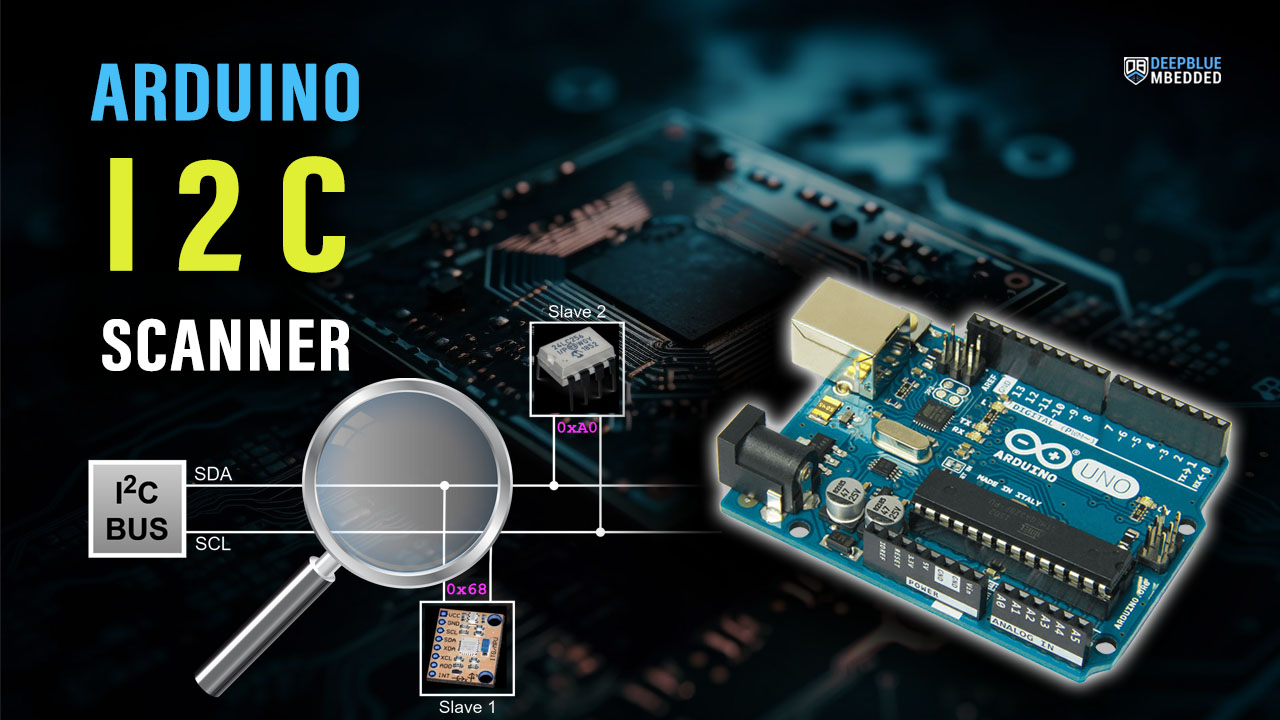
In this short tutorial, we’ll be creating an Arduino I2C Scanner example project. To check for the connected slave devices on the I2C bus and report their addresses over UART to our PC.
The Arduino I2C Scanner Example is a very common Arduino sketch example to scan the I2C bus for available devices and get their addresses (if found). That can be useful if you don’t know the address of any I2C device or just not sure about it. Just run this example and get its addresses.
It can also tell if an I2C device is actually working or not. Maybe the device you’re trying to communicate with is actually damaged and no longer works. Then, it can be handy to run this example and make sure everything is OK.
Table of Contents
Arduino I2C Scanner Example
The code example down below does the following: We start with defining and initializing the I2C peripheral. And we’ll also initialize a serial UART communication to print back the results to the PC serial terminal (Arduino Monitor).
Then, we’ll start to check all possible I2C address devices (7-Bit = 127 possible addresses excluding 0x00). If there is an ACK, it means there is a working I2C device at that address so we shall print it out. If no ACK (NACK) is received, we shall move to the next address until the end.
Arduino I2C Scanner Example Code
Here is the full code listing for this example (a modified version of this source sketch).
/*
 * LAB Name: Arduino I2C Scanner
 * Author: Khaled Magdy
 * For More Info Visit: www.DeepBlueMbedded.com
*/
#include <Wire.h>

void setup()
{
  Serial.begin(9600);
  Wire.begin();
}

void loop()
{
  byte error, address;
  int nDevices;
  Serial.println("Scanning...");
  nDevices = 0;
  for(address = 1; address < 127; address++ )
  {
    Wire.beginTransmission(address);
    error = Wire.endTransmission();
    if (error == 0)
    {
      Serial.print("I2C device found at address 0x");
      if (address<16)
      { Serial.print("0"); }
      Serial.print(address,HEX);
      Serial.println("  !");
      nDevices++;
    }
    else if (error==4)
    {
      Serial.print("Unknown error at address 0x");
      if (address<16)
      { Serial.print("0"); }
      Serial.println(address,HEX);
    }
  }
  if (nDevices == 0)
  { Serial.println("No I2C devices found\n"); }
  else
  { Serial.println("done\n"); }

  delay(5000);           // wait 5 seconds for next scan
}
Test #1 Setup & Result
For the first test, I’ve connected an MPU6050 IMU sensor to the SCL & SDA lines of I2C as you can see in the image down below. The I2C address for this slave device is 0x68 as stated in the datasheet.
We can change only one bit of that address so there could be up to 2 MPU6050 sensors on the same bus at maximum. Anyway, we should expect to see that address after running the example on the “Serial Monitor” on my PC.

And Here Is The Result.

Test #2 Setup & Result
In the second test, I’ve just added another I2C module to the bus lines which is the I2C_LCD interface IO expander (PCF8574T). This module has an I2C slave address of 0x27 as a default address if no solder bridge on the module’s board is touched at all.
You can still play around with those bridges to change the device address to allow many I2C_LCD devices on the same bus. Which we’ll be doing in the next tutorial and will be discussed hereafter in this tutorial.

And Here Is The Result.

Arduino I2C Device Addresses Limitations
No multiple devices are allowed to have the exact same I2C address on the bus. Usually, manufacturers give you, the designer, a couple of IO pins to set the address of that I2C device (like an LCD, EEPROM, or RTC). So that you can have multiple units of the same device on the same I2C bus.
To further investigate this matter and provide some solution, let’s first define a problem statement and start searching for a convenient solution. Here is an I2C LCD (IO expander) called PCF8574. Its default address in the datasheet is 0x27 with all solder bridges open.

What if we’d like to hook up 3 units of I2C LCD on the exact same bus and control those LCDs with our Arduino board? What can we do to make this happen? Here are the proposed solution one by one (ordered by my personal preference)
1- Change The I2C Device Address
The first thing you should consider is to take advantage of the 3 bits of address available to you in the form of solder bridges. By mixing 0’s and 1’s, you’ll end up having 8 different unique addresses for 8 x I2C LCD units all working on the exact same bus.
We want just 3, so it’s more than enough. Let’s now change the problem statement, and let’s say we need to have 10 x I2C LCD units on the exact same I2C bus. What to do?
2- Use Arduino I2C Multiplexer (Expander)
Next, we can consider getting an I2C expander IC like (TCA9548A). It’s a very cheap solution to give some virtual addresses to identical I2C devices so that you become able of addressing each device on the bus with a unique address.
Here is a simplified diagram for this I2C expander chip. Note that it has its own I2C address and you can have multiple units of this expander IC so it does increase the addressable device significantly at a very low cost.

3- Use Arduino Software I2C (Bit-Banging)
One last solution that I don’t usually recommend is by using “Bit-Banging”. Actually, most serial communication protocols can be Bit-Banged by a microcontroller. It’s a software-emulated version that uses normal GPIO pins to simulate the I2C signaling on the bus.
It acts as if it’s a hardware I2C that’s generating the signals, but in reality, it’s the CPU doing all of this with certain timing constraints and is vulnerable to all sorts of errors and issues. But it’s still doable and being used under certain circumstances.
Parts List
Here is the full components list for all parts that you’d need in order to perform the practical LABs mentioned here in this article and for the whole Arduino Programming series of tutorials found here on DeepBlueMbedded. Please, note that those are affiliate links and we’ll receive a small commission on your purchase at no additional cost to you, and it’d definitely support our work.
Download Attachments
You can download all attachment files for this Article/Tutorial (project files, schematics, code, etc..) using the link below. Please consider supporting my work through the various support options listed in the link down below. Every small donation helps to keep this website up and running and ultimately supports our community.
Wrap Up
To conclude this tutorial, we can say that the Arduino I2C scanner code example is very useful in case you can’t identify the address of a specific I2C device on the bus or to check the existence of a specific I2C device on the bus. Give it a try and check the Arduino I2C Tutorial linked below for more information about Arduino I2C communication.
")
This is the ultimate guide for Arduino I2C communication. It’ll give you an in-depth explanation of Arduino I2C fundamentals, wire library functions, Arduino I2C device programming, and a handful of Arduino I2C communication example projects.
If you’re just starting with Arduino, check out the Arduino Getting Started [Ultimate Guide] here.