| Previous Tutorial | Tutorial 0 | Next Tutorial | |||||
| Setting-Up STM32 Ecosystem | |||||||
| STM32 Course Home Page ???? | |||||||
At the beginning of this series of tutorials, we’ll set up the development environment which we’ll be using throughout the entire course tutorials, LABs, and projects. In this short tutorial, I’ll list down the required software tools. And where to get them.
STM32 Integrated Dev. Environment (IDE)
There are some different options for IDEs that can be used to develop firmware projects using the STM32 ARM-Based microcontrollers. Here are a few of them:
- Eclipse
- ARM EMbed
- Keil
- IAR Systems
- Atollic TrueStudio
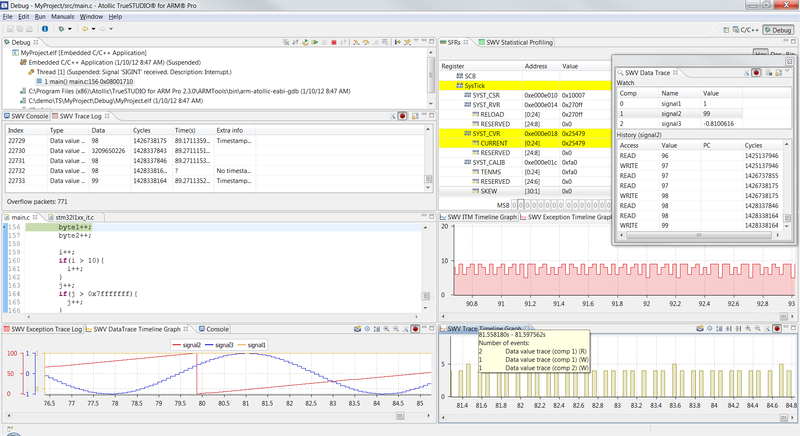
- STM32CUBE IDE
STM32CUBE IDE is the software tool we’ll be using. It’s a free eclipse-based IDE officially from STMicroelectronics, the hardware manufacturer for the STM32 microcontrollers itself. And it’s looking like a re-branded newer version of their older tool (Atollic TrueStudio).
The toolchain provides so many features to ease and accelerate the development, debugging, and testing tasks. The whole experience is just so good to be our starting point.
Download STM32Cube IDE -> This Link
Note: You’ll need to register for a free account using your email address to be able to download the software from their website. This step is required in order to get the download link for the version that fits your operating system condition (Windows, MAC, or Linux).
Firmware Development Level of Abstraction
It’s important to decide on the level of abstraction which we’ll stick to throughout this course just at the beginning. We won’t be developing LL drivers at the register level as we’ve done in the Microchip PIC tutorials. However, we’ll be using the LL+HAL device drivers provided by STMicroelectronics. So we can dedicate the development effort to the application layer and middleware, mostly the ECU abstraction layer (ECUAL) drivers. As you can see in the software layered architecture diagram below.
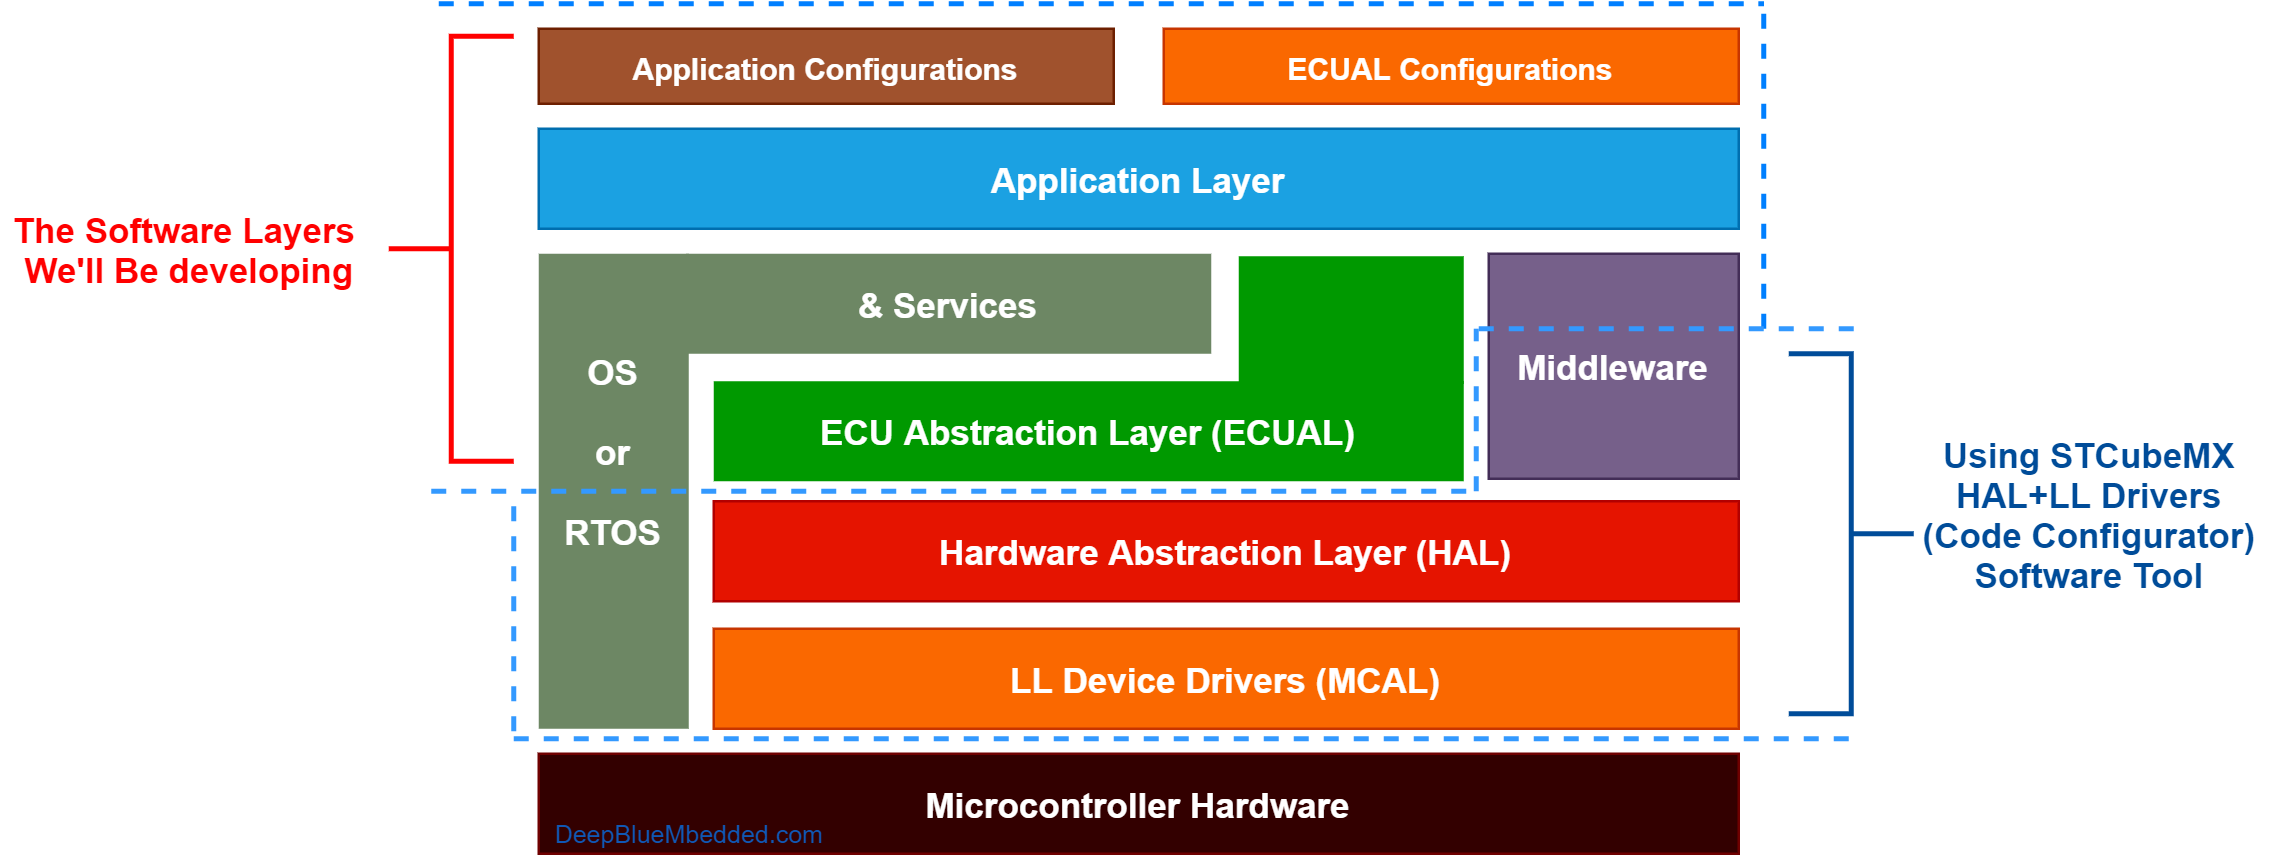
Doing this will have 2 major advantages that are considered to be goals for the entire series of tutorials. First of which is that you’ll learn how to develop reusable configurable firmware drivers for different modules, sensors, and interfaces. All of which will be dependent on the STM’s HAL+LL drivers that have uniformed APIs across the entire portfolio of STM’s STM32 microcontrollers families.
This brings us to the second advantage which is having an embedded software stack that can potentially run on any STM32 microcontroller with very little effort. This is really helpful if you’re designing your own STM32-based PCB boards and projects with any microcontroller part, having portable reusable firmware drivers is key in shortening the development time.
STM32 CubeMX
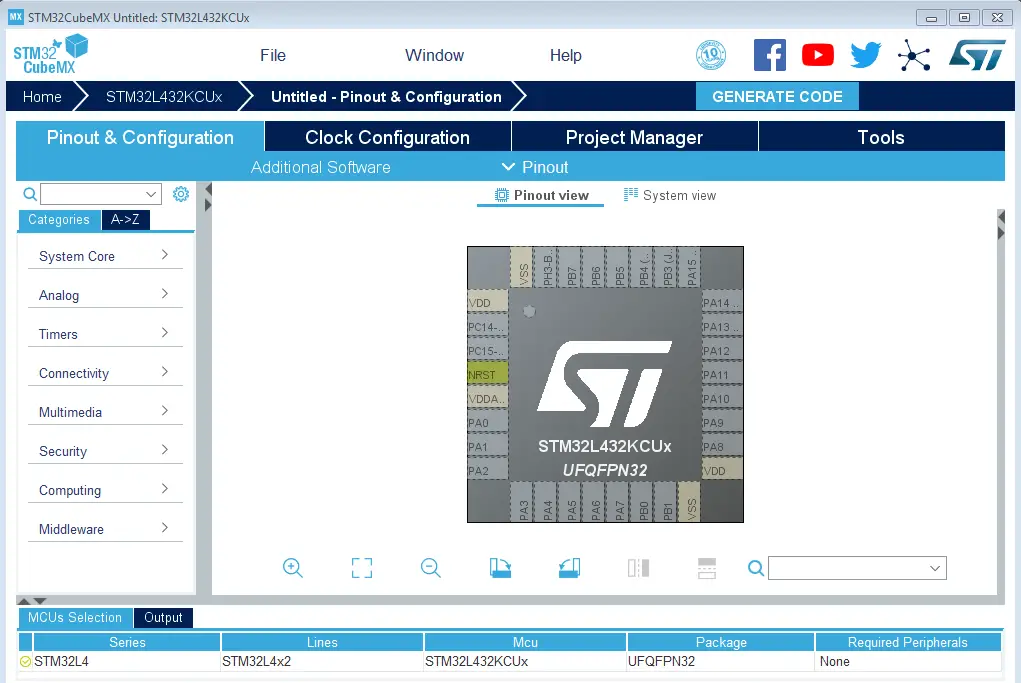
This is the second software tool you need to download and install. Obviously, we’ll use the CubeMX GUI app to setup and configure the low-level hardware and peripherals. It also helps you configures the clock tree of the microcontroller to decide on the various clock speed for the system, buses, and peripherals.
At the end of the configuration process, it generates the project folder in the specified directory. Then you click a button in order to launch it in the Cube IDE and start developing your project right away.
Download STM32 CubeMX -> This Link
ST-Link V2 Driver
You’ll finally need to make sure that the driver for the ST-Link v2 programmer/debugger is correctly installed and it’s assigned a virtual COM port by your operating system.
For the nucleo32 board (any Nucleo or discovery board as well) you’ll not be in need to do this step. As it should be installed automatically the first time you connect it to your USB port in the PC. It’ll install the required drivers for the ST-Link debugger on the board itself.
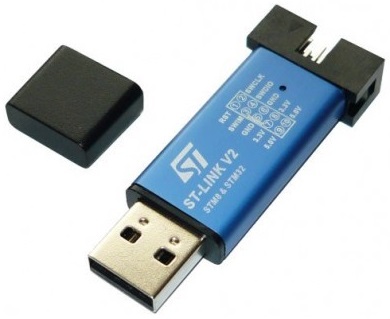
However, for the blue pill, you’ll need an external USB ST-Link v2 debugger and it may not install the driver automatically once connected to your USB port. So here is the link to download the ST-Link v2 Debugger Windows Drivers.
And That’s It For This First Tutorial .. Next, We’ll Get Started With STM32 Microcontrollers Architecture
| Previous Tutorial | Tutorial 0 | Next Tutorial | |||||

Great tutorials as usual ♥️
I have a question
Can i use tiva c with cubemx ?
Thanks so much for this series of tutorials!