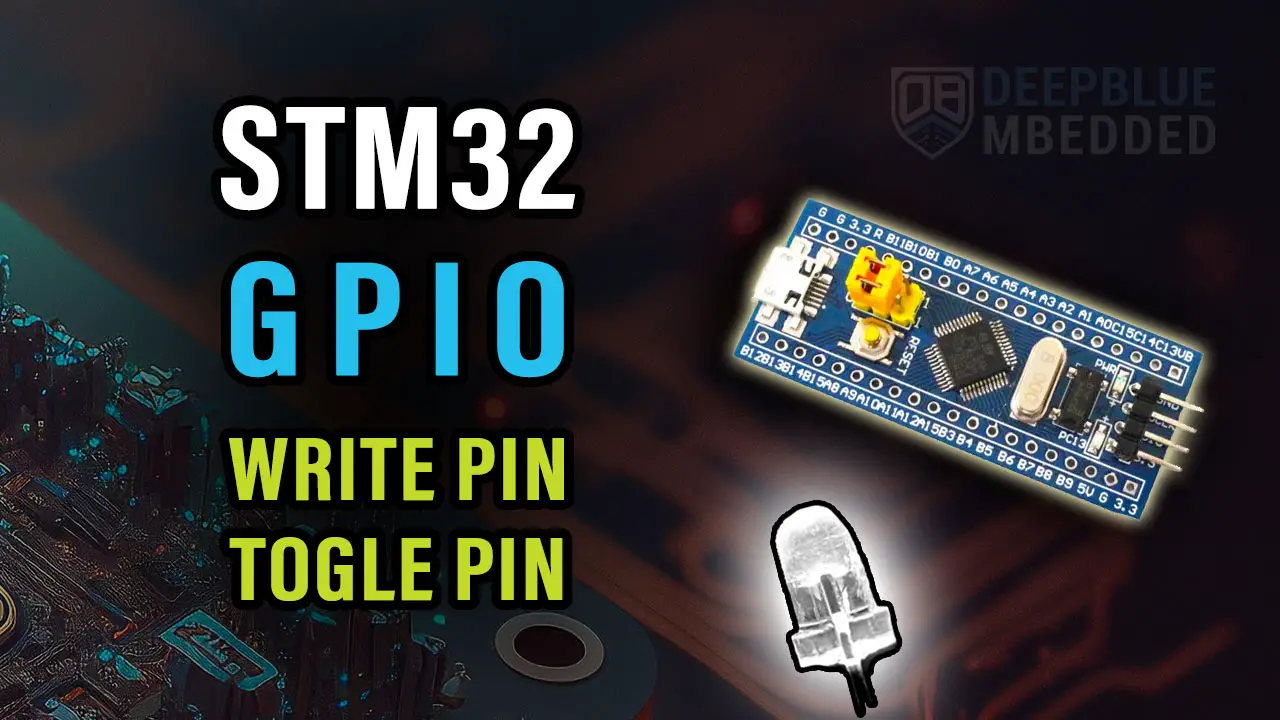
In this tutorial, we’ll configure an STM32 GPIO pin to be output. Then, we’ll create our first STM32 GPIO Example project (LED Blinking) with a blue pill board. You’ll learn all the steps to configure the STM32 CubeMX & flash the code from STM32CubeIDE to the blue pill board.
We’ll also dive deeper into the STM32 HAL GPIO functions used to control the GPIO output pins in STM32 microcontrollers. Such as the HAL_GPIO_Write() function, HAL_GPIO_TogglePin() function, and more. Without further ado, let’s get right into it!
Table of Contents
- STM32 GPIO Example HAL Write_Pin & Toggle_Pin
- STM32 GPIO Example (CubeMX Configurations)
- STM32 HAL GPIO Example Code & Functions Explained
- STM32 GPIO Toggle Pin Example Testing
- Wrap Up
STM32 GPIO Example HAL Write_Pin & Toggle_Pin
Objectives of This STM32 LED Blinking Example Project:
- Configure GPIO Output Pin Within the STM32CubeMX Tool
- Use HAL_GPIO_Write() function to change an output pin state
- Use HAL_GPIO_TogglePin() function to toggle the state of a GPIO pin
- Use The HAL_Delay() & Know How It Works
STM32 GPIO Example (CubeMX Configurations)
Step #1
Open STM32CubeMX, create a new project, and select the STM32F103C8T6 target microcontroller. Note that the STM32 BluePill board has two common target microcontrollers (STM32F103C8T6 & STM32F103C6T6). So you need to select the exact target microcontroller on your hardware board.
This example project should work flawlessly on any STM32 target microcontroller, you just need to select the target MCU that matches your hardware board.
Step #2
Go to the RCC clock configuration page and enable the HSE external crystal oscillator input.
Click on the PA8 GPIO pin in the “Pinout View” and select it to be in GPIO_Output mode. Note: you can use any other pin you want instead.

Step #3
Go to the clock configurations page, and select the HSE as a clock source, PLL output, and type in 72MHz for the desired output system frequency. Hit the “ Enter” key, and let the application solve for the required PLL dividers/multipliers to achieve the desired clock rate.
The reason behind this: using the external onboard oscillator on the BluePill board provides a more accurate and stable clock, and using a 72MHz as a system clock pushes the microcontroller to its limits, so we get the maximum performance out of it. As long as we don’t care about the application’s power consumption.

Step #4
Finally, go to the Project Manager, give your project a name, select the toolchain/IDE to be STM32CubeIDE, and click on the Generate Code button.
The STM32CubeMX tool will generate the initialization code & the project main files and it’ll prompt you to open the project in STM32CubeIDE. Select, open project, and let’s move to the next step.

Then, open the project in the IDE you’re using. And head over to the main.c file. So we can start writing the application code and have a look at the initialization code generated by the STM32 CubeMX tool.
Step #5
Copy the following code into your main.c file replacing the auto-generated code from the beginning of the fill till the main function. You should leave everything else under the main() function in the main.c file as is.
STM32 GPIO Example Code (HAL_GPIO_WritePin)
This code example uses the STM32 HAL_GPIO_TogglePin() function.
#include "main.h"

void SystemClock_Config(void);
static void MX_GPIO_Init(void);

int main(void)
{
  HAL_Init();
  SystemClock_Config();
  MX_GPIO_Init();

  while (1)
  {
    HAL_GPIO_TogglePin (GPIOA, GPIO_PIN_8);
    HAL_Delay (100);
  }
}
STM32 GPIO Example Code (HAL GPIO Toggle Pin)
This code example uses the STM32 HAL_GPIO_TogglePin() function.
#include "main.h"

void SystemClock_Config(void);
static void MX_GPIO_Init(void);

int main(void)
{
  HAL_Init();
  SystemClock_Config();
  MX_GPIO_Init();

  while (1)
  {
    // LED ON
    HAL_GPIO_WritePin(GPIOA, GPIO_PIN_8, GPIO_PIN_SET);
    HAL_Delay(100);
    // LED OFF
    HAL_GPIO_WritePin(GPIOA, GPIO_PIN_8, GPIO_PIN_RESET);
    HAL_Delay(100);
  }
}
You can use any of the previous code examples. Both are doing the exact same functionality (blink an LED every 100ms).
STM32 HAL GPIO Example Code & Functions Explained
The auto-generated main.c file in the source code directory within our projects was as shown below.
#include "main.h"


void SystemClock_Config(void);
static void MX_GPIO_Init(void);

int main(void)
{

  HAL_Init();

  SystemClock_Config();

  MX_GPIO_Init();

  while(1)
  {

  }

}
STM32 HAL Initialization Functions
Both functions SystemClock_Config() and MX_GPIO_Init() are generated by CubeMX to configure the system clock as we’ve done in the GUI before and the GPIO pin which we’ve selected to be an output pin. The implementation of both functions is found in the file after the main function.
We call each of them before the main loop while(1) as well as the HAL_Init function. The HAL_Init must be called at the beginning of your application. Its functionality is clarified in the HAL Documentation as shown below.

And most importantly it initializes the SysTick timer, whose ticks are used by the HAL_Delay(). The SysTick timer is set to tick @ 1000Hz or every 1mSec. So the HAL_Delay function will give you multiples of milliseconds delay.

Besides the delay function, we also need to know the HAL APIs for controlling the GPIO pins. To do basic stuff like pin read or write or port read/write, and so on.
STM32 GPIO HAL Functions
So we’ll head over again to the HAL documentation and search for the GPIO chapter, where we’ll find this listing for the available APIs. The APIs are hyperlinked in the documentation file, so you can click the name of the function to go directly to its detailed description.
- HAL_GPIO_ReadPin()
- HAL_GPIO_WritePin()
- HAL_GPIO_TogglePin()
- HAL_GPIO_LockPin()
- HAL_GPIO_EXTI_IRQHandler()
So, let’s take a closer look at the GPIO_WritePin() function, for example.

More details on all functions can be found in the STM32 HAL documentation that you can easily find on the STMicroelectronics website.
STM32 GPIO Toggle Pin Example Testing
Step #1
Refer To The Blue Pill Board Schematic & Pinout

Step #2
Connect The ST-Link To The USB Port & SWD Pins On Board

Step #3
Click The Debug Button To Compile The Code & Flash It To The Board & Start A Debugging Session

Step #4
You Can Stop The Debugging Session Or Keep It Going. But You Need To Restart The MCU Once To Run The New Application At The Booting Process.
Required Parts For STM32 Examples
All the example Code/LABs/Projects in this STM32 Series of Tutorials are done using the Dev boards & Electronic Parts Below:
| QTY. | Component Name | Amazon.com | AliExpress | eBay |
| 1 | STM32-F103 BluePill Board (ARM Cortex-M3 @ 72MHz) | Amazon | AliExpress | eBay |
| 1 | Nucleo-L432KC (ARM Cortex-M4 @ 80MHz) | Amazon | AliExpress | eBay |
| 1 | ST-Link V2 Debugger | Amazon | AliExpress | eBay |
| 2 | BreadBoard | Amazon | AliExpress | eBay |
| 1 | LEDs Kit | Amazon & Amazon | AliExpress | eBay |
| 1 | Resistors Kit | Amazon & Amazon | AliExpress | eBay |
| 1 | Capacitors Kit | Amazon & Amazon | AliExpress & AliExpress | eBay & eBay |
| 1 | Jumper Wires Pack | Amazon & Amazon | AliExpress & AliExpress | eBay & eBay |
| 1 | Push Buttons | Amazon & Amazon | AliExpress | eBay |
| 1 | Potentiometers | Amazon | AliExpress | eBay |
| 1 | Micro USB Cable | Amazon | AliExpress | eBay |
★ Check The Links Below For The Full Course Kit List & LAB Test Equipment Required For Debugging ★
Download Attachments
You can download all attachment files for this Article/Tutorial (project files, schematics, code, etc..) using the link below. Please consider supporting our work through the various support options listed in the link down below. Every small donation helps to keep this website up and running and ultimately supports the whole community.
Wrap Up
In conclusion, it was quite easy to create our first STM32 LED blinking project using the HAL GPIO WritePin or TogglePin functions. You can play with different settings like delay period, multiple IO pins, and so on.
If you’re just getting started with STM32, you need to check out the STM32 Getting Started Tutorial here.
Follow this STM32 Series of Tutorials to learn more about STM32 Microcontrollers Programming.
I tried to blink the onboard LEDs of my STMF4Discoveryboard with the STM32F407V MCU. They light up, but they don’t blink.
I set the pins in CubeMX as GPIO_OUTPUT pins and used the same code as you.
while (1)
{
HAL_GPIO_WritePin(GPIOD, GPIO_PIN_12|GPIO_PIN_13|GPIO_PIN_14|GPIO_PIN_15, GPIO_PIN_SET);
HAL_Delay(10);
HAL_GPIO_WritePin(GPIOD, GPIO_PIN_12|GPIO_PIN_13|GPIO_PIN_14|GPIO_PIN_15, GPIO_PIN_RESET);
HAL_Delay(10);
}
Do you have an idea why they don’t blink?
Oh, I noticed that I had 10ms in HAL_Delay function…
How ever I changed it to 1000ms but it still doesn’t blink.
Are you sure about initializing the HAL driver?
the HAL_Init() function does some initializations work of which is the SysTick timer that is being used by the HAL_Delay function
The SysTick is by default gets configured for a period of 1ms and that’s how the HAL_Delay work.
So make sure that it’s called before the while(1) loop and also the GPIO pin initialization in output mode has to be done before writing to the pins.
I followed this tutorial using CubeMX, Cube IDE and the STM32F407G-DISC1 board. I could not get the off board LED to blink at all. Since it’s hard to see the circuit in your videos or pictures, I assume that I got the circuit wrong, so I switched to trying to blink the onboard LED’s by editing the .ioc file and setting ‘PD12’ as a GPIO_Output in the pinout configuration and regenerating the code.
I tried both your code
HAL_GPIO_WritePin(GPIOD, GPIO_PIN_12, GPIO_PIN_SET);
HAL_Delay(100);
// LED OFF
HAL_GPIO_WritePin(GPIOD, GPIO_PIN_12, GPIO_PIN_RESET);
HAL_Delay(100);
and this
HAL_GPIO_TogglePin(GPIOD, GPIO_PIN_12);
HAL_Delay(100);
Everything compiles and uploads without errors but nothing happens.
COM1 blinks red/green
If you could help that would be great as I cannot find anyone else with the same issue after hours of googling.
Thanks in advance
Hi Jules,
It sounds like an issue with the core of the system. Becuase the onboard led should work ok if there is no error in code.
My guess is maybe the clock configuration is not properly done in cubemx. I also think that forgetting to init_hal will cause an issue like this becuase it initializes the systick timer that makes all delay functions work properly.
Make sure that the gpio pins are initialized. Their clock should be enabled and stuff like that. If you’re using cumbeMX generated code, then it should be handled by default.
Hmmm… i’m trying to guess what could go wrong with an onboard led!
It’s definitely something in the configurations either of the cpu clock or the gpio pin.
For anyone else losing their mind over why this simple code doesn’t work with their nucleo boards: some don’t come with an external crystal resonator soldered to the board. Took me a whole day to figure that one out.
There is a mistake with toogle pin option. There should be
HAL_GPIO_TogglePin (GPIOA, GPIO_PIN_8);
HAL_Delay(100);
I guess this was a typo. Now it’s fixed, Thanks!
Maybe my browser is not working at the moment but i see HTML5 code on the toggle pin option code only.
do you have toturials on advanced topics like the bootloader and how to write a custom one on stm32 ?
Hi, Khaled.
Please pardon my stupidity, but I am a total newbie.
I wanted to copy and paste your code but there are so much code in this main file that I have no clue as to where to paste your code. Any help, please? I am totally lost. I am using the F407 Discovery board and i intend to use PD12, so i will have to make some minor changes.