In this tutorial, we’ll discuss the STM32 Capacitive Touch Sensor (Button/Switch) Interfacing, how the capacitive touch button (TTP223) works, and how to configure the STM32 GPIO to interface with the external capacitive touch button (switch).
The practical example we’ll implement in this tutorial will be a very good starting point for your touch-enabled STM32 project. Without further ado, let’s get right into it!
Table of Contents
- STM32 Capacitive Touch Sensor (Switch)
- STM32 Capacitive Touch Sensor Example Project
- STM32 Touch Sensor (Switch) Example
- Wrap Up
STM32 Capacitive Touch Sensor (Switch)
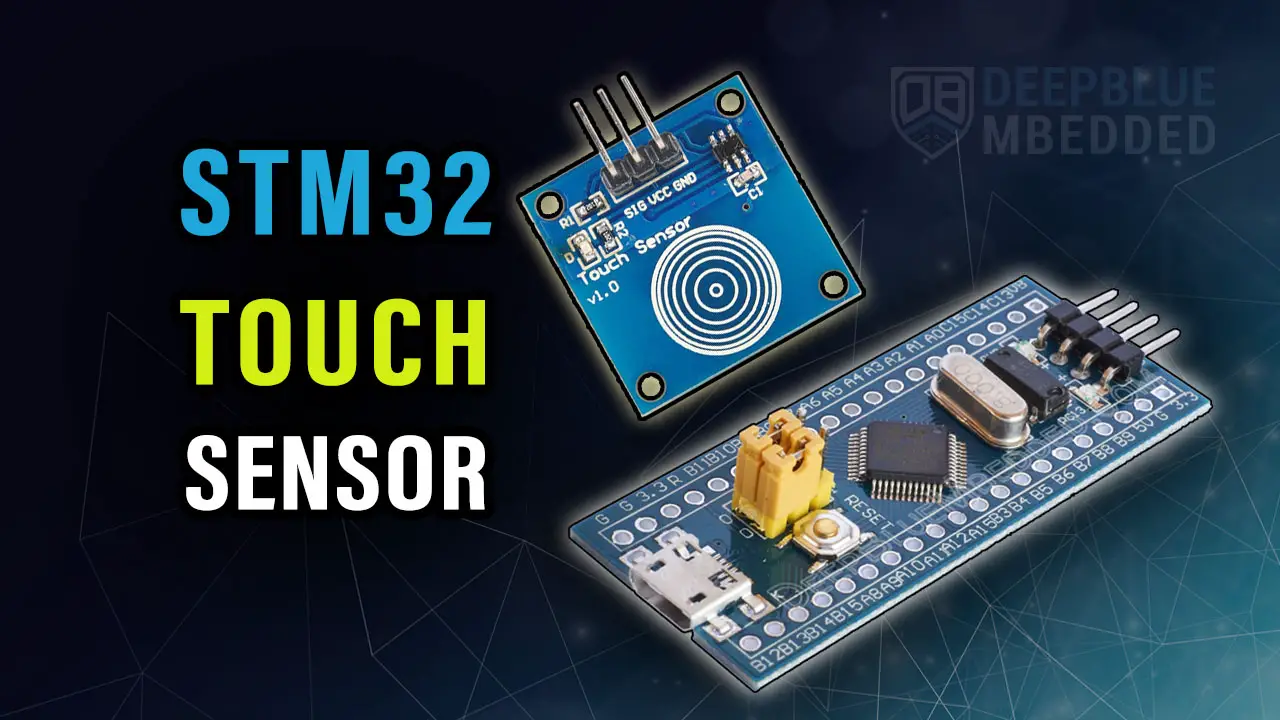
Using a capacitive touch sensor (switch) module like the one shown below is the easiest way to add capacitive touch sensing to your STM32 project. This module handles the touch sensing for you and gives you a clean digital signal whenever a user touch event is detected.
 TTP223")
When & Why To Use External Touch Sensors Like TTP223
Not all STM32 target microcontrollers come with an internal TSC (Touch Sensing Controller) which is a peripheral designed to automate the process of sampling external touch sensors (electrodes). Therefore, it can be a good option to use a standalone external touch sensor (switch) such as the TTP223.
Using an external standalone touch sensor (like the TTP223) is much easier for prototyping a project idea. However, if your target application requires touch sensing, it’s advisable to go for an STM32 microcontroller that has a TSC hardware peripheral.
Pros & Cons of Using External Touch Sensors Like TTP223
| Pros | Cons |
| Easier to use from a software perspective | Takes up a lot of space if you’d like to use multiple units compared to what you could achieve by designing your own custom CapTouch PCB solution |
| Easier to use from a hardware perspective | Little to no controllability over the sensor’s sensitivity or touch direction. It will register touch events from the top & bottom sides |

This article will give you more in-depth information about the STM32 TSC (Touch Sensing Controller) hardware peripheral and how to use it with your custom designs of touch sensors (electrodes).
STM32 Capacitive Touch Sensor Example Project
In this example project, we’ll set up the STM32 to read the digital input coming from the touch sensor (switch) and use it to control the state of an output LED that turns ON while the button is touched and vice versa.
Example Project Steps Summary:
- Set up a new project with a system clock @ 72MHz
- Set up 2x GPIO pins: an output pin for an LED, and an input pin for the touch button (switch).
Example Project Wiring Diagram

STM32 Touch Sensor (Switch) Example
And now, let’s build this system step-by-step
Step #1
Open STM32CubeMX, create a new project, and select the target microcontroller.
Step #2
Set the GPIO B12 as an output pin (for the LED)
Set the GPIO B10 as an input pin (for the touch sensor)
Step #3
Go to the RCC clock configuration page and enable the HSE external crystal oscillator input.

Step #4
Go to the clock configurations page, select the HSE as a clock source, PLL output, and type in 72MHz for the desired output system frequency. Hit the “ Enter” key, and let the application solve for the required PLL dividers/multipliers to achieve the desired clock rate.

Step #5
Name & Generate The Project Initialization Code For CubeIDE or The IDE You’re Using.
STM32 Touch Sensor (Switch) Example Code
Here is The Application Code For This LAB (main.c)
/*
 * LAB Name: STM32 Touch Sensor Example (TTP223)
 * Author: Khaled Magdy
 * For More Info Visit: www.DeepBlueMbedded.com
*/
#include "main.h"

void SystemClock_Config(void);
static void MX_GPIO_Init(void);

int main(void)
{
  HAL_Init();
  SystemClock_Config();
  MX_GPIO_Init();

  while (1)
  {
	  // If Touch is Detected
	  if(HAL_GPIO_ReadPin (GPIOB, GPIO_PIN_10))
	  {
		  HAL_GPIO_WritePin(GPIOB, GPIO_PIN_12, GPIO_PIN_SET);
	  }
	  else
	  {
		  HAL_GPIO_WritePin(GPIOB, GPIO_PIN_12, GPIO_PIN_RESET);
	  }
  }
}
Code Explanation
This is a very simple project in terms of what’s going on in the code. Which reads the input GPIO pin and checks its state, if it’s HIGH, the LED pin will be driven HIGH as well, and vice versa. That’s all about it.
STM32 Capacitive Touch Button Example Testing
Required Parts For STM32 Examples
All the example Code/LABs/Projects in this STM32 Series of Tutorials are done using the Dev boards & Electronic Parts Below:
| QTY. | Component Name | Amazon.com | AliExpress | eBay |
| 1 | Capacitive Touch Sensor (Button / Switch) | Amazon | AliExpress | eBay |
| 1 | STM32-F103 BluePill Board (ARM Cortex-M3 @ 72MHz) | Amazon | AliExpress | eBay |
| 1 | Nucleo-L432KC (ARM Cortex-M4 @ 80MHz) | Amazon | AliExpress | eBay |
| 1 | ST-Link V2 Debugger | Amazon | AliExpress | eBay |
| 2 | BreadBoard | Amazon | AliExpress | eBay |
| 1 | LEDs Kit | Amazon & Amazon | AliExpress | eBay |
| 1 | Resistors Kit | Amazon & Amazon | AliExpress | eBay |
| 1 | Capacitors Kit | Amazon & Amazon | AliExpress & AliExpress | eBay & eBay |
| 1 | Jumper Wires Pack | Amazon & Amazon | AliExpress & AliExpress | eBay & eBay |
| 1 | Push Buttons | Amazon & Amazon | AliExpress | eBay |
| 1 | Potentiometers | Amazon | AliExpress | eBay |
| 1 | Micro USB Cable | Amazon | AliExpress | eBay |
★ Check The Links Below For The Full Course Kit List & LAB Test Equipment Required For Debugging ★
Download Attachments
You can download all attachment files for this Article/Tutorial (project files, schematics, code, etc..) using the link below. Please consider supporting our work through the various support options listed in the link down below. Every small donation helps to keep this website up and running and ultimately supports the whole community.
Wrap Up
In conclusion, we’ve explored how to use the TTP223 capacitive touch sensor button (switch) with an STM32 microcontroller without needing to have an internal TSC (touch sensing controller) unit. It needs only one digital GPIO pin and it’s so easy to interface from both perspectives (software & hardware).
You can build on top of the example provided in this tutorial and/or explore the other parts of the STM32 capacitive touch sensing tutorials series for more information about the other STM32 capacitive touch sensing techniques.

