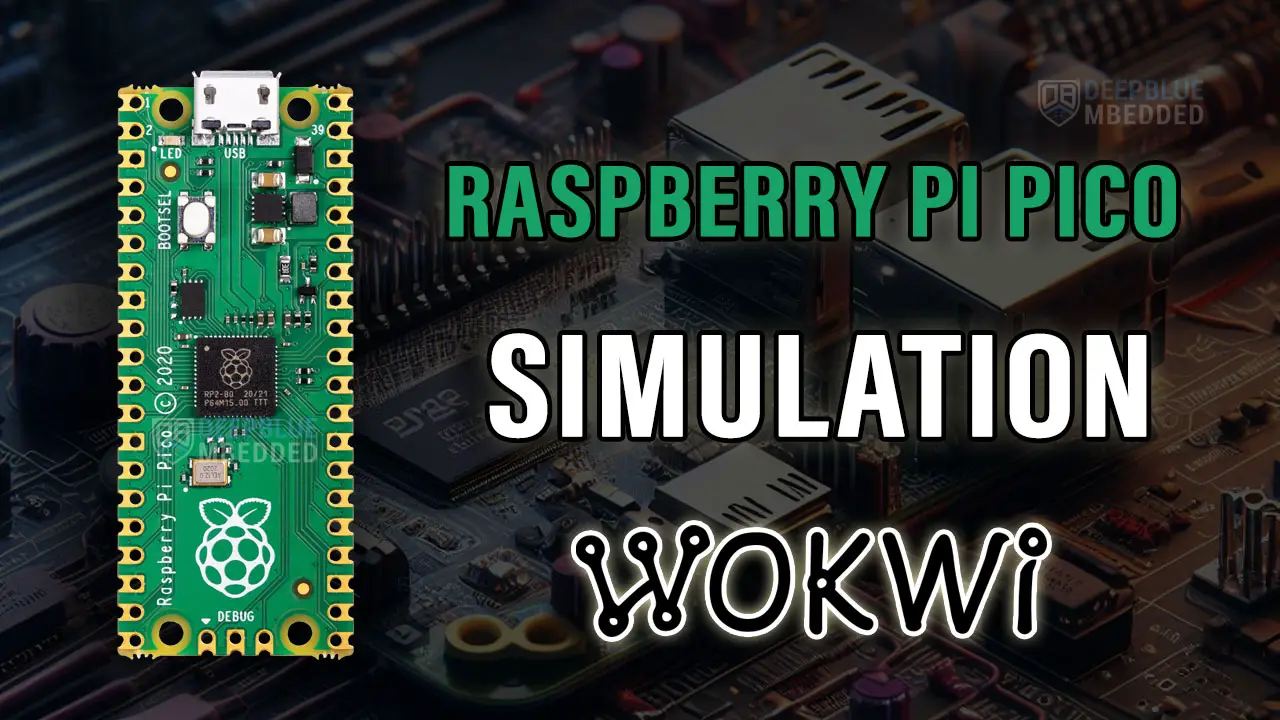
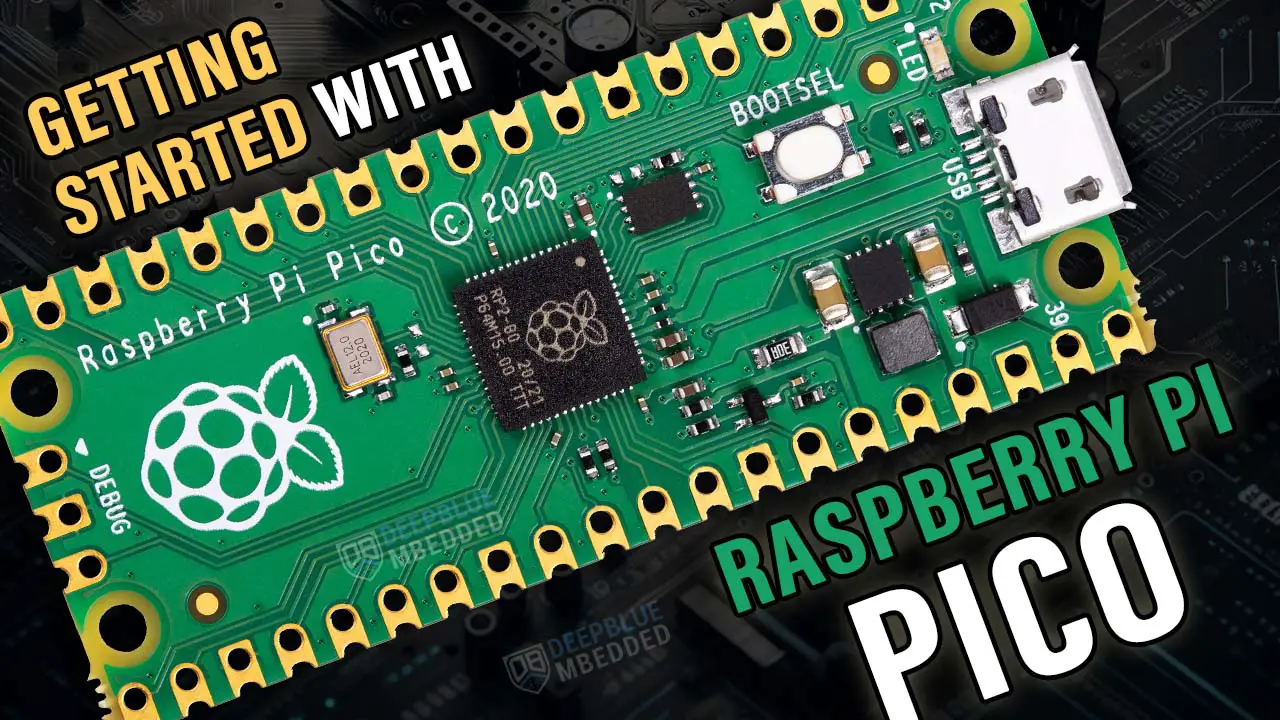
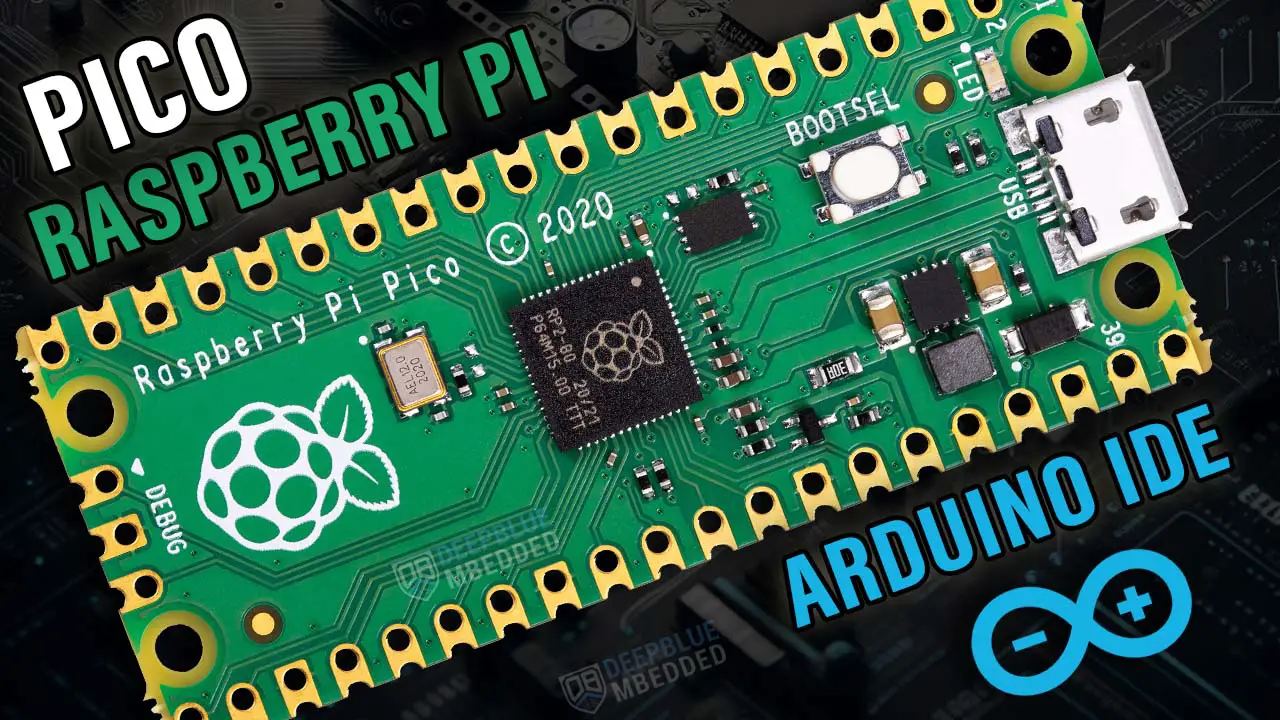
This tutorial is a Guide For The Raspberry Pi Pico Simulator (Wokwi). The RP2040-based Raspberry Pi Pico boards can be programmed using (C/C++ SDK, MicroPython, CircuitPython, and Rust). You can find navigation buttons on the left sidebar to go to the Raspberry Pi Pico tutorials series using the programming language you prefer.
In this tutorial, we’ll get an overview of the Wokwi simulator features for simulating Raspberry Pi Pico RP2040-based projects. We’ll simulate both the Raspberry Pi Pico & Pico W boards using (MicroPython, CircuitPython, Arduino C, and C/C++ SDK). You’ll get a project template for each programming language with the Raspberry Pi Pico & Pico W boards. Without further ado, let’s get right into it!
Table of Contents
- Wokwi Raspberry Pi Pico Simulator Introduction
- Drawing Circuits in Wokwi
- Using Wokwi Virtual Serial Monitor
- Using Wokwi MicroPython REPL Prompt
- Using Wokwi Virtual Logic Analyzer
- Adding Libraries To Wokwi
- Wokwi Project Templates For Raspberry Pi Pico
- Raspberry Pi Pico MicroPython Projects Simulation
- Raspberry Pi Pico CircuitPython Projects Simulation
- Raspberry Pi Pico Arduino IDE Projects Simulation
- Raspberry Pi Pico C/C++ SDK Projects Simulation
- Concluding Remarks
Wokwi Raspberry Pi Pico Simulator Introduction
Simulating Raspberry Pi Pico projects can be really helpful especially when you’re just getting started. This step is not mandatory, however, running your project in a simulator environment will help you catch and fix some logic errors in the code or in the circuit wiring connections.
As of writing this tutorial, there is only one Raspberry Pi Pico simulator that looks very promising: the online Wokwi simulator tool. We’ll be using this Raspberry Pi Pico simulator environment in a lot of example projects through this Raspberry Pi Pico tutorials series. Therefore, in this tutorial, we’ll explore the capabilities of this tool and prepare some project templates to accelerate the getting-started process for ourselves in future demos.
Wokwi is free to use however they provide a paid subscription plan should you want to support their work and also get access to advanced features and influence their development tasks roadmap via a power-user voting system. The Wokwi simulator has a lot of features that include:
- Simulate a wide variety of microcontrollers: Arduino, ESP32, Raspberry Pi Pico, STM32, and many others
- A handful of sensors, modules, and read-to-use simulated hardware libraries
- Virtual test equipment like logic analyzer, serial monitor, WiFi simulation, and more
- Debugging in simulation environment & VS code integration (beta features)
There is more interesting stuff yet to be added and discovered to this amazing simulation environment.
Drawing Circuits in Wokwi
The Wokwi simulator has a very intuitive GUI environment to help you easily draw your system schematic diagram with the target microcontroller board (Raspberry Pi Pico, Pico W, Arduino, or whatever). Everything on the graphical diagram is represented in a text format in the diagram.json file tab.
The “+” Button in the top menu of the simulator window will allow you to add devices to the simulation environment (breadboards, sensors, modules, LEDs, Buttons, etc). However, things like the target microcontroller board (Pi Pico, Pico W, or others) are only added by editing the diagram.json file.
There are some key bindings and shortcuts that will help you accelerate the process of schematic drawing & editing in Wokwi. All of these are illustrated on this page, you may need to use it as a reference as well.
Using Wokwi Virtual Serial Monitor
The Serial Monitor provides a way to send/receive information to/from your microcontroller. You can use it to print debug messages from your firmware or to send commands that control your firmware behavior.

The serial monitor will only show once you print some output from your program. To change this behavior, configure the serial monitor’s settings in the diagram.json file.
Also, note that the baud rate must be set to 9600bps. This is hard-coded in the simulator, and using a different value will get you garbage in the serial monitor.
This is the Wokwi Virtual Serial Monitor reference page to help you learn more about configuring it to suit your needs. Especially if your microcontroller supports multiple UART ports and you’d like to use a specific one for the serial port, or even if it doesn’t have a serial UART port you can still use a SoftwareSerial implementation to make it work.
Using Wokwi MicroPython REPL Prompt
All MicroPython projects must include a main.py file. MicroPython will automatically load and execute the code from main.py when you start the simulation.

Wokwi copies all the project files into the Raspberry Pi Pico’s flash filesystem. This means your project can include additional Python modules and you can import them from main.py or from the interactive REPL. REPL stands for Read-Evaluate-Print-Loop which is the interactive MicroPython prompt that we typically use to test out Python code, run commands, and see the results immediately.
When the code in main.py terminates (or you interrupt it with Ctrl+C), you’ll get into the MicroPython REPL. Type help() for the MicroPython API list. To paste code into the REPL type (Ctrl+E) and enter paste mode.
Using Wokwi Virtual Logic Analyzer
There is also another extremely helpful tool in the Wokwi simulator environment which is the virtual Logic Analyzer. You can add it to the simulation diagram and use it to monitor up to 8 digital signals at once. Below is an example of toggling an LED pin every 100ms with the Raspberry Pi Pico and I’m connecting the output pin to the logic analyzer.

After running the simulation, the logic analyzer will keep registering samples until you terminate the simulation session. After terminating the simulation, a file called wokwi-logic.vcd will be automatically downloaded to your PC. This is the raw sampled data from the logic analyzer, to view it we’ll use the PulseView free software that you can easily download and install from this link.
Open PulseView software and click on the small arrow beside the Open button at the top. Then select “Import Value Change Dump Data” and navigate to the file generated from the Wokwi simulation which is called wokwi-logic.vcd.
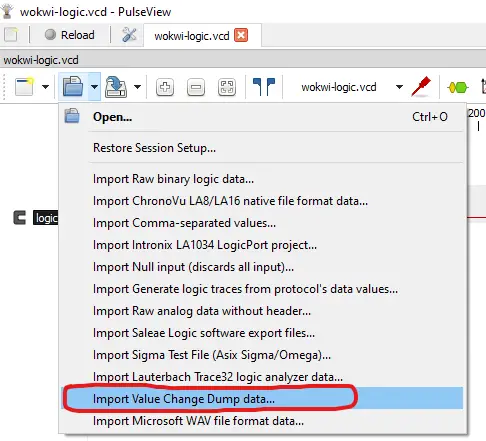
Once you’ve selected the VCD file, there’ll be another dialog with import options:
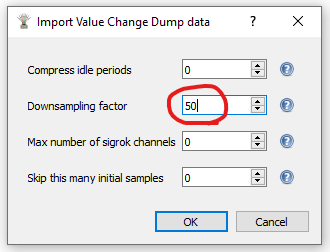
Unfortunately, the default options usually cause PulseView to consume a lot of RAM and become laggy. You can reduce memory usage by setting the Downsampling factor. A value of 50 should work for most use cases. The following table lists some common values:
| Downsampling Factor | Sampling Rate | Use Case |
| 1000 | 1MHz | Low-Frequency Digital Signals / Long Recordings (10+ minutes) |
| 50 | 20MHz | Common Digital Signals (UART, SPI, I2C, PWM, WS2812, etc.) |
| 10 | 100MHz | High-Speed Signals (10MHz+) |
| 1 | 1GHz | Very High-Speed Signals (100MHz+) |
After confirming the import options, you should see the imported signals on the screen. The signal names will be “logic.D0”, “logic.D1”, etc. Use the “Show Cursors” tool to place cursors on the signal to measure its pulse width. Obviously, it turned out to be 100ms exactly as we’ve set the toggle delay in our code.

The PulseView software has an amazing Digital Protocol Signal Decoder that will help you decode various protocols like USB, CAN, LIN, MIDI, I2S, IR Remote, and much more.
Adding Libraries To Wokwi
You can add third-party libraries to your Wokwi project simulation environment using the “Library Manager” tab in the code editor. Click on the “+” button and search for the library you’d like to add. You can even upload your own (custom) library files to the simulator, but this feature is only available for paid users (at the moment).
This is a detailed guide for adding libraries to Wokwi simulation projects if you’re interested in this subject.
Wokwi Project Templates For Raspberry Pi Pico
The next four sections are dedicated to providing you with a basic Wokwi project template for both Raspberry Pi Pico & Pico W boards using the following programming environments: (MicroPython, CircuitPython, Arduino IDE, and C/C++ SDK).
Each project template is a very basic LED blinking example code running on the Raspberry Pi Pico or Pico W board. The board will be mounted on a breadboard to imitate the real hardware environment that we’re using for our Raspberry Pi Pico Programming series of tutorials.
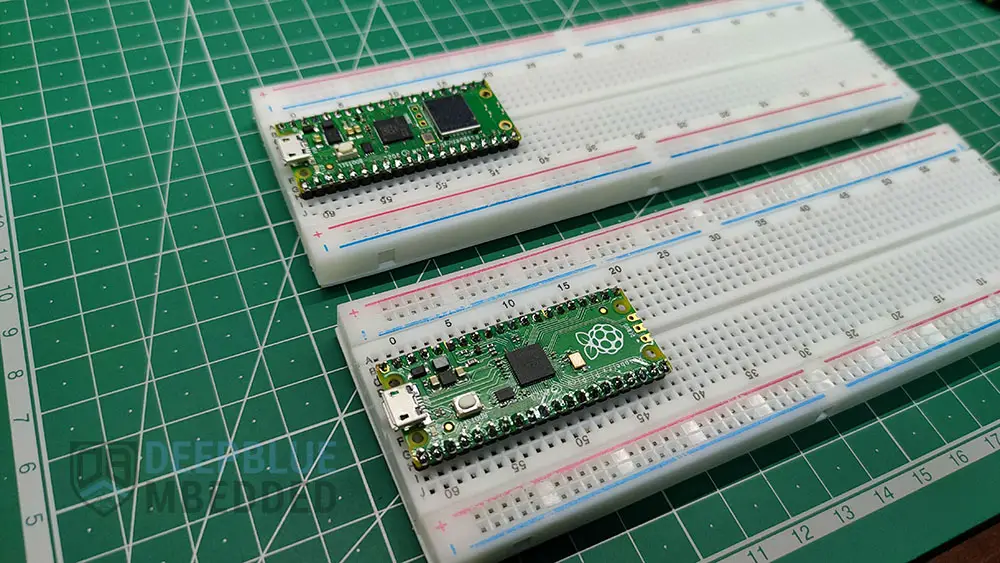
The ultimate goal of providing the simulation project templates hereafter in this tutorial is to make it easier for you to get started with your project simulation by just copying the project template to your Wokwi account’s dashboard and you’re good to go and modify the simulation diagram to suit your project.
This article will give more in-depth information about the Raspberry Pi Pico GPIO pins and their functionalities. And how to choose the suitable pins for whatever functionality you’re trying to achieve and know the fundamental limitations of the device with some workaround tips and tricks.
Raspberry Pi Pico MicroPython Projects Simulation
Below are two LED blinking example project templates for the Raspberry Pi Pico & Pico W boards simulation using Wokwi and the MicroPython programming language.
1. Raspberry Pi Pico (MicroPython)
[ Wokwi Project URL ] Raspberry Pi Pico – MicroPython (Project Template)
2. Raspberry Pi Pico W (MicroPython)
[ Wokwi Project URL ] Raspberry Pi Pico W – MicroPython (Project Template)
Raspberry Pi Pico CircuitPython Projects Simulation
Below are two LED blinking example project templates for the Raspberry Pi Pico & Pico W boards simulation using Wokwi and the CircuitPython programming language.
1. Raspberry Pi Pico (CircuitPython)
[ Wokwi Project URL ] Raspberry Pi Pico – CircuitPython (Project Template)
2. Raspberry Pi Pico W (CircuitPython)
Not Yet Supported!
Raspberry Pi Pico Arduino IDE Projects Simulation
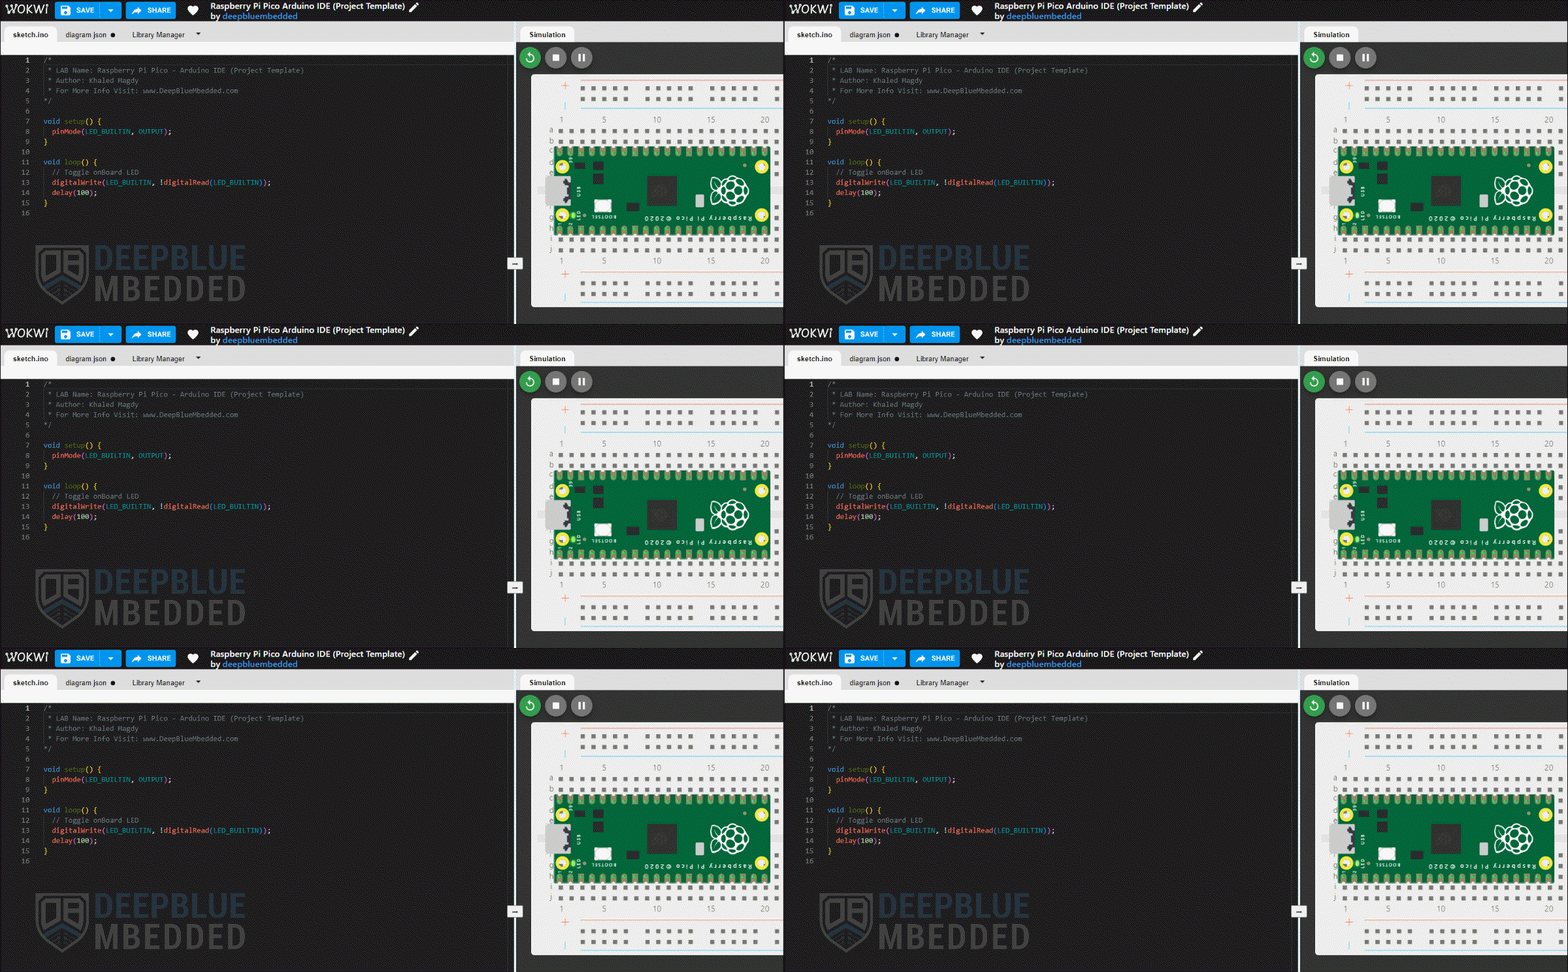
Below are two LED blinking example project templates for the Raspberry Pi Pico & Pico W boards simulation using Wokwi and the Arduino C++ programming language.
1. Raspberry Pi Pico (Arduino IDE)
[ Wokwi Project URL ] Raspberry Pi Pico – Arduino IDE (Project Template)
2. Raspberry Pi Pico W (Arduino IDE)
[ Wokwi Project URL ] Raspberry Pi Pico W – Arduino IDE (Project Template)
Raspberry Pi Pico C/C++ SDK Projects Simulation
Below are two LED blinking example project templates for the Raspberry Pi Pico & Pico W boards simulation using Wokwi and C/C++ SDK programming.
1. Raspberry Pi Pico (C/C++ SDK)
[ Wokwi Project URL ] Raspberry Pi Pico – C/C++ SDK (Project Template)
2. Raspberry Pi Pico W (C/C++ SDK)
[ Wokwi Project URL ] Raspberry Pi Pico W – C/C++ SDK (Project Template)
If you’re looking forward to playing around with the Raspberry Pi Pico board to test its capabilities and features, you may just need to get a single board. Just like this one here. However, if you’d like to follow along with the Raspberry Pi Pico series of tutorials published here on our website, you may consider getting the following items:
2x Pi Pico Boards, 2x Pi Pico W Boards, 4x BreadBoards, Resistors, LEDs, Buttons, Potentiometers, etc. The reason behind getting multiple boards is that we’ll be using one board as a PicoProbe debugger for SWD debugging activities. And at least 2x Pico W boards for IoT wireless applications.
The full kit list of the Raspberry Pi Pico series of tutorials is found at the link below, as well as some test equipment for debugging that you may consider getting for your home electronics LAB.
Concluding Remarks
To conclude this tutorial, we’ll highlight the fact that Raspberry Pi Pico simulation is possible with the Wokwi online simulation environment which can help you get started with Raspberry Pi Pico programming even if you didn’t get your hardware kit yet. There may be some downsides and limitations in some cases but for basic projects simulation, it’s going to help you very well.
Follow this Raspberry Pi Pico Series of Tutorials to learn more about Raspberry Pi Pico Programming in different programming languages’ environments.
If you’re just starting with Raspberry Pi Pico, you should check out the following getting-started guides with the programming language you favor the most. There are 4 variants of the Raspberry Pi Pico tutorials to match your needs and help you along the path that you’re going to choose.
