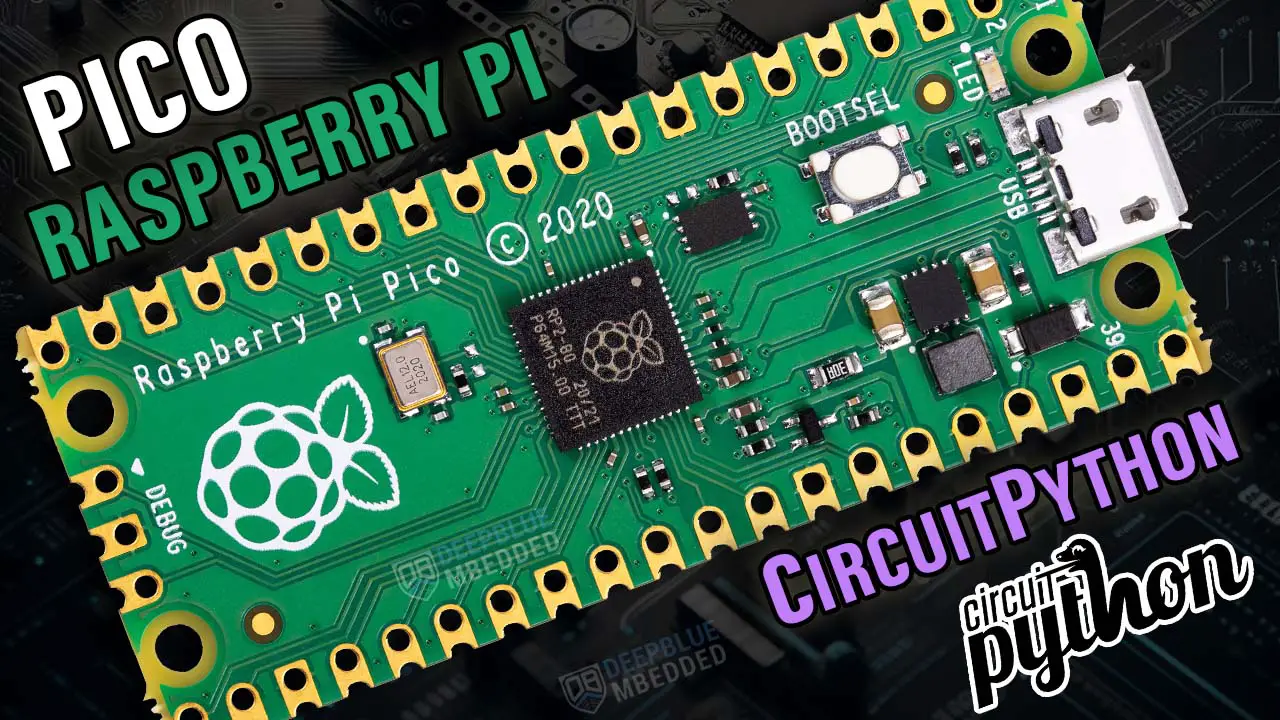
This tutorial is a getting-started guide for the Raspberry Pi Pico (And Pico W) boards using CircuitPython programming language and Thonny IDE. The RP2040-based Raspberry Pi Pico boards can also be programmed using (C/C++ SDK, Arduino C++, MicroPython, and Rust). You can find navigation buttons on the left sidebar to go to the Raspberry Pi Pico tutorials series using the programming language you prefer.
In this tutorial, we’ll set up all the required software tools and get our Raspberry Pi Pico board ready to flash our first CircuitPython LED Blinking test code using Thonny IDE. Without further ado, let’s get right into it!
Table of Contents
- Raspberry Pi Pico CircuitPython Introduction
- Installing CircuitPython on Raspberry Pi Pico
- Verify The Raspberry Pi Pico CircuitPython Installation
- Programming Raspberry Pi Pico Using CircuitPython
- Raspberry Pi Pico LED Blinking (CircuitPython)
- Raspberry Pi Pico CircuitPython Simulation (Wokwi)
- Concluding Remarks
Raspberry Pi Pico CircuitPython Introduction
As stated in the previous tutorial Getting Started With Raspberry Pi Pico (Using MicroPython), the CircuitPython is a fork of the MicroPython that was created by Adafruit. It’s the easiest programming experience you could think of thanks to the huge libraries list from Adafruit that includes nearly all sensors and modules that are commonly used in the makers’ space.
Programming the Raspberry Pi Pico in CircuitPython is of course one of the easiest options among all and the code will run much slower than Arduino C++ or C. But all in all, this is the most beginner-friendly programming language option out there.
For the Raspberry Pi Pico CircuitPython tutorials, we’ll also use the same Thonny IDE that we’re using for MicroPython Tutorials. You can download the IDE here on Thonny.org. Download the version that suits your operating system and go through the installation steps with all default settings.
Installing CircuitPython on Raspberry Pi Pico
To prepare your Raspberry Pi Pico for programming with CircuitPython, you need to follow the steps below:
Step #1
Hold the BOOTSEL button on the Raspberry Pi Pico board. Then, connect the board to the USB port of your PC. This step is required to operate the microcontroller in the bootloader mode to be ready for firmware flashing. After connecting the board to the USB port, you can release the BOOTSEL button.
Note: a new window will open when the USB is connected to your PC, this is where we’ll save our UF2 firmware file.
Step #2
You can just download the Raspberry Pi Pico CircuitPython UF2 file from the following links:
Drag and drop it into the USB drive. And it’ll automatically be flashed to the board, which will auto-reset thereafter.
If you’d like to use Thonny IDE for this step instead, then proceed with the following instructions:
Open Thonny IDE
From the menu toolbar select: File > Options > Interpreter tab

Then, select the following options: CircuitPython (Generic) as interpreter. And for the port, leave it as “Try to detect port automatically“.
Then, you should click on the install or update CircuitPython button. A new window will open as shown in the screenshot below. Here you should select the Raspberry Pi Pico board variant according to what you’re using.
For the Raspberry Pi Pico Board, Select Raspberry Pi Pico / Pico H. For the Raspberry Pi Pico W Board, Select Raspberry Pi Pico W / Pico WH. Then, you should click the install button. It’ll take a couple of seconds and it’ll give you a done message.

You can close that window, and you should see at the bottom of the IDE window that your board is ready and the REPL showing a greeting message so you can test it by simple commands like print('hello world') or something.
Verify The Raspberry Pi Pico CircuitPython Installation
After flashing the UF2 file to your Raspberry Pi Pico board, the RPI-RP2 drive will be ejected. Then, a new drive will be mounted. This new drive is named CIRCUITPY.
If you have a CIRCUITPY drive, then you have successfully installed CircuitPython on your Raspberry Pi Pico. This drive will have some files and folders that are used to store settings, libraries, and our firmware programs.
Most importantly, the code.py file which is the main source code file for any project. This is where our main program shall be stored.
Connect your Raspberry Pi Pico board to your PC and open Thonny IDE. In the REPL shell window, type in any test commands to see how the Raspberry Pi Pico executes it, and print back the results.
print('hello world')
Programming Raspberry Pi Pico Using CircuitPython
To program the Raspberry Pi Pico Using CircuitPython with Thonny IDE, follow the steps below:
Step #1
Make sure you’ve flashed the proper UF2 file to your Raspberry Pi Pico board and it shows up in your computer as a drive named “CIRCUITPY“.
Step #2
Open the Thonny IDE, from the menu select Open file, navigate to the Raspberry Pi pico CIRCUITPY drive, and open the code.py file.
Copy the following code to the code.py file, which blinks the onboard LED of the Raspberry Pi Pico (or Pico W) board.
import time
import board
import digitalio

BUILTIN_LED = digitalio.DigitalInOut(board.LED)
BUILTIN_LED.direction = digitalio.Direction.OUTPUT

while True:
    BUILTIN_LED.value = 1
    time.sleep(0.1)
    BUILTIN_LED.value = 0
    time.sleep(0.1)
Save the file using ctrl+s or the save button in the menu bar in Thonny IDE. The code.py file will be flashed to the Raspberry Pi Pico board and it’ll reset to start executing the new code script automatically.
Raspberry Pi Pico LED Blinking (CircuitPython)
And now let’s write our first LED Blinking CircuitPython code and run it on the Raspberry Pi Pico. Here is the code listing for this example demo project:
Raspberry Pi Pico (Pico W Compatible)
#-------------------------------------------------------------
# LAB Name: Raspberry Pi Pico CircuitPython (Project Template)
# Author: Khaled Magdy
# For More Info Visit: www.DeepBlueMbedded.com
#-------------------------------------------------------------
import time
import board
import digitalio

BUILTIN_LED = digitalio.DigitalInOut(board.LED)
BUILTIN_LED.direction = digitalio.Direction.OUTPUT

while True:
    BUILTIN_LED.value = 1
    time.sleep(0.1)
    BUILTIN_LED.value = 0
    time.sleep(0.1)
As you can easily tell, it sets the onboard LED pin as an output pin. And toggle its state every 100ms and keeps repeating forever.

This article will give more in-depth information about the Raspberry Pi Pico GPIO pins and their functionalities. And how to choose the suitable pins for whatever functionality you’re trying to achieve and know the fundamental limitations of the device with some workaround tips and tricks.
Raspberry Pi Pico CircuitPython Simulation (Wokwi)
As of writing this tutorial, there is only one Raspberry Pi Pico simulator that looks very promising: the online Wokwi simulator tool. There is a dedicated tutorial guide for “Raspberry Pi Pico project simulation” linked below in this section hereafter.
This is the simulation result for the previous Raspberry Pi Pico LED Blinking example project (CircuitPython) using Wokwi. You can find the Project Simulation file link here, so you can save a copy of it into your Wokwi projects dashboard and play around with the simulator environment.

Simulating your Raspberry Pi Pico projects can be really helpful especially when you’re just getting started. This step is not mandatory at all, however, running your project in a simulator environment will help you catch and fix some logic errors in the code or in the circuit wiring connections.
The Wokwi simulation project linked above will be our template for all Raspberry Pi Pico CircuitPython Tutorials, so you need to take a copy of it into your Wokwi account project dashboard.
 - Arduino MicroPython CircuitPython C SDK")
This article will provide more in-depth information about simulating Raspberry Pi Pico projects using the online Wokwi simulator tool. You’ll learn how to simulate MicroPython, Arduino, and C SDK projects on Raspberry Pi Pico.
If you’re looking forward to playing around with the Raspberry Pi Pico board to test its capabilities and features, you may just need to get a single board. Just like this one here. However, if you’d like to follow along with the Raspberry Pi Pico series of tutorials published here on our website, you may consider getting the following items:
2x Pi Pico Boards, 2x Pi Pico W Boards, 4x BreadBoards, Resistors, LEDs, Buttons, Potentiometers, etc. The reason behind getting multiple boards is that we’ll be using one board as a PicoProbe debugger for SWD debugging activities. And at least 2x Pico W boards for IoT wireless applications.
The full kit list of the Raspberry Pi Pico series of tutorials is found at the link below, as well as some test equipment for debugging that you may consider getting for your home electronics LAB.
Concluding Remarks
To conclude this tutorial, we can only say that it’s only the first step in the Raspberry Pi Pico CircuitPython Programming journey. The following tutorials in this series will help you get started with Raspberry Pi Pico programming and learn more topics with practical examples and step-by-step explanations.
Follow this Raspberry Pi Pico Series of Tutorials to learn more about Raspberry Pi Pico Programming in different programming languages’ environments.
If you’re just starting with Raspberry Pi Pico, you should check out the following getting-started guides with the programming language you favor the most. There are 4 variants of the Raspberry Pi Pico tutorials to match your needs and help you along the path that you’re going to choose.
")
")
